
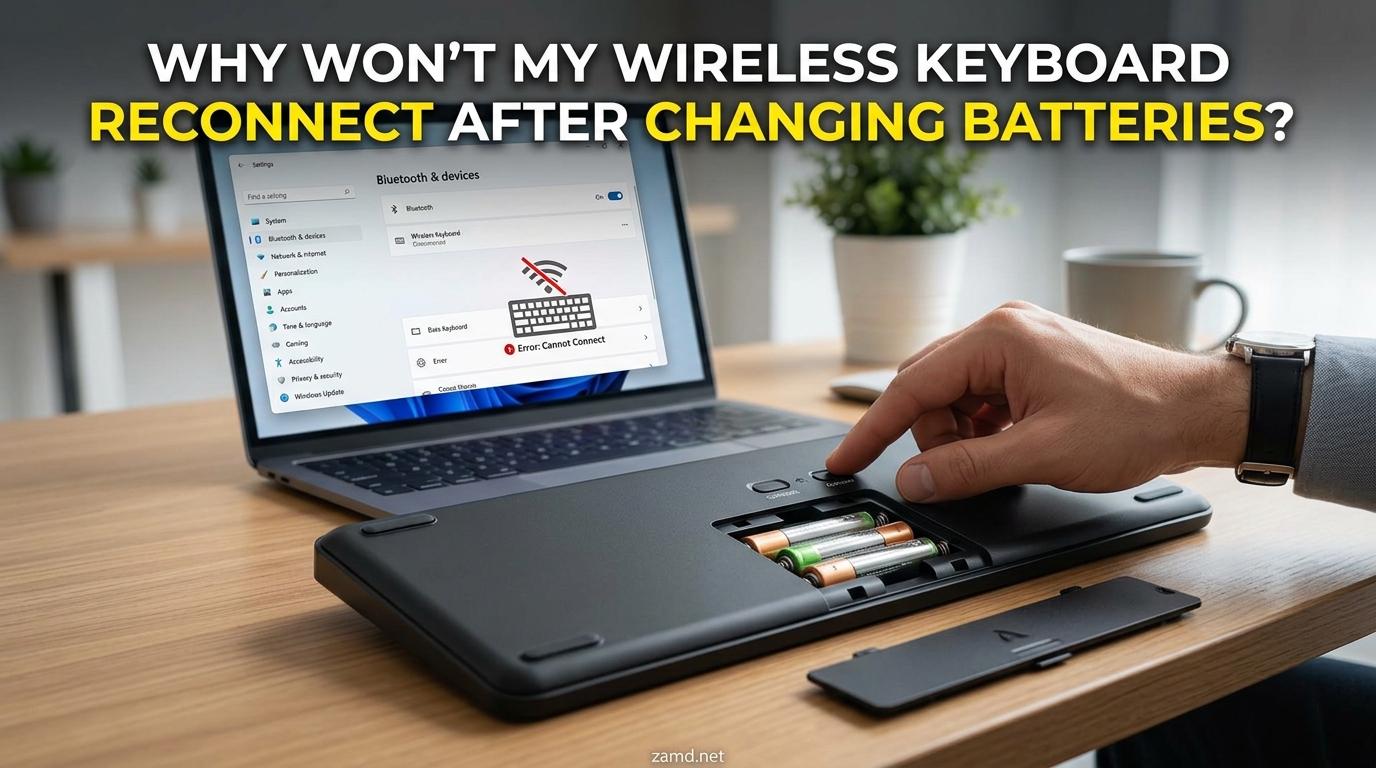
You replaced the batteries in your wireless keyboard, expecting it to spring right back to life. Instead, nothing happens. No lights, no response, no connection. If you are wondering why your wireless keyboard won’t reconnect after changing batteries, you are dealing with one of the most common frustrations in peripheral troubleshooting.
The good news is that most cases resolve in under five minutes with simple steps. The battery swap itself often triggers the problem, but rarely because of the batteries. Pairing data gets lost, contacts lose their grip, or a USB receiver drops its handshake. In rare cases, the new batteries are the actual culprit.
This guide walks through every likely cause, from the fastest two-minute fixes to advanced driver-level solutions. Work through them in order, since the simple fixes solve roughly 80 percent of reported cases. By the end, you will know exactly why your wireless keyboard is not reconnecting and what to do about it.
Table of Contents
5 Quick Fixes to Try First (Under 2 Minutes)
Before going deep into technical troubleshooting, try these five quick fixes. Each one takes less than 30 seconds, and together they cover the most common reasons a wireless keyboard fails to reconnect after a battery change.
Quick Fix 1: Reseat the batteries. Remove both batteries and reinsert them firmly. Battery compartments in many keyboards rely on spring-loaded contacts that compress slightly over time. When you insert new batteries, those contacts sometimes fail to press firmly enough. Pulling them out and pushing them back in with deliberate force often re-establishes the connection.
Quick Fix 2: Power cycle the keyboard. Turn the keyboard off using its power switch, wait ten seconds, and turn it back on. This forces the internal radio to reinitialize and search for its paired receiver or Bluetooth host. Many keyboards enter a low-power sleep state after battery removal and need a clean power-on to wake properly.
Quick Fix 3: Toggle the power switch multiple times. Slide the power switch off and on three or four times in quick succession. Dust and oxidation build up on these small slide switches, and repeated toggling scrapes the contacts clean. Users on Reddit report that this simple trick alone revives keyboards that appeared completely dead.
Quick Fix 4: Move the USB receiver to a different port. If your keyboard uses a USB dongle, unplug it and plug it into a different USB port, ideally a direct port on the back of the computer rather than a hub or front-panel connector. The receiver and keyboard sometimes lose their pairing handshake during the battery swap, and re-plugging forces the receiver to broadcast fresh.
Quick Fix 5: Verify battery orientation against the diagram. Look inside the battery compartment for the printed plus and minus symbols. Even experienced users occasionally install one battery backwards, especially in compartments with unusual orientations. One reversed battery kills all power even if the other is correct.
If none of those worked, the issue is deeper than a simple power glitch. Move on to the symptom table below to identify the most likely cause, then jump to the matching fix.
Symptom-to-Solution Quick Reference
Different symptoms point to different underlying causes. Use this table to match what you are seeing with the most likely problem and the fastest solution.
| Symptom | Likely Cause | Fix to Try First |
|---|---|---|
| No lights, no response at all | Dead batteries, poor contact, or power switch issue | Reseat batteries, toggle switch, test batteries in another device |
| Light flashes briefly then dies | Weak or defective new batteries, corroded contacts | Clean contacts, try different battery brand |
| Light comes on but keyboard won’t type | Lost pairing or USB receiver disconnected | Re-pair via Bluetooth settings or re-plug receiver |
| Keyboard works only when batteries pressed hard | Bent or worn battery contacts | Bend contacts slightly outward or use foil shim |
| Keyboard and mouse both stopped working | Shared USB receiver failed or system-level driver issue | Reinstall HID drivers, re-plug receiver |
| Keyboard works in BIOS but not Windows | Driver corruption or Fast Startup conflict | Reinstall keyboard driver, disable Fast Startup |
| Was working, then died with new batteries installed | Defective new batteries or lost pairing | Test batteries separately, re-pair device |
Once you have identified the likely cause, jump to the detailed fix below that matches your situation.
How to Fix a Wireless Keyboard That Won’t Reconnect After Changing Batteries
This section covers the six most effective fixes, organized from the most overlooked to the most technical. Each fix includes step-by-step instructions and an estimated time to complete.
Fix 1: Check and Clean Battery Contacts (the Hidden Cause)
Dirty or corroded battery contacts are the single most underdiagnosed cause of keyboard failures after battery changes. No major competitor covers this in depth, but forum users report it constantly. The symptom is distinctive: the keyboard shows a brief light when you insert batteries, then dies immediately.
Here is how to address contact problems:
Step 1: Remove the batteries and inspect the metal contacts inside the compartment. Look for greenish corrosion, white powder, or dark discoloration on the spring terminals.
Step 2: Dip a cotton swab in white vinegar and gently scrub the contacts if you see corrosion. Vinegar dissolves the alkaline buildup that leaks from old batteries. Follow with a dry swab to remove moisture.
Step 3: If contacts look clean but the keyboard only works when you press the batteries down, the spring contacts have compressed over time. Use a small screwdriver to gently bend the negative spring terminal outward, restoring tension against the battery.
Step 4: For severely worn contacts, a small piece of aluminum foil folded two or three times can shim the gap between battery and terminal. This is a temporary fix, but it confirms the diagnosis and gets you typing again.
Time needed: 5 to 10 minutes. This fix is free and solves a surprising number of cases that resist every other solution.
Fix 2: Re-pair Your Bluetooth Keyboard
When you remove batteries from a Bluetooth keyboard, the pairing memory sometimes clears. The keyboard forgets which computer it was connected to, and the computer still thinks it is paired with a keyboard that no longer responds. You need to clear both sides and re-establish the connection.
Follow these steps on Windows:
Step 1: Open Settings, then go to Bluetooth and devices. Find your keyboard in the list of paired devices.
Step 2: Click the three dots next to the keyboard name and select Remove device. Confirm the removal. This clears the stale pairing from the computer.
Step 3: Put the keyboard in pairing mode. This usually involves turning it on, then pressing and holding the Connect or Bluetooth button until an LED blinks rapidly. Check your keyboard manual for the exact combination.
Step 4: Back on the computer, click Add device and select Bluetooth. Wait for the keyboard to appear in the scan list.
Step 5: Click the keyboard, then confirm any pairing code that appears on screen by typing it on the keyboard and pressing Enter.
On macOS, the process is similar. Open System Settings, go to Bluetooth, click the info icon next to the keyboard, and choose Forget This Device. Then put the keyboard in pairing mode and select it from the Bluetooth device list.
Time needed: 2 to 3 minutes. This resolves the majority of Bluetooth keyboard reconnection failures.
Fix 3: Resync Your 2.4GHz USB Receiver Keyboard
If your keyboard uses a small USB dongle rather than Bluetooth, the issue is usually a lost sync between the keyboard and the receiver. Logitech, Dell, HP, and Microsoft all use similar resync procedures, though the exact button locations vary.
Step 1: Unplug the USB receiver and plug it back in firmly. Wait ten seconds for Windows to recognize it.
Step 2: Look for a Connect button on the USB receiver itself. Some Logitech unifying receivers and Microsoft transceivers have a small button on the side.
Step 3: Press and hold the Connect button on the receiver for five seconds, then immediately press and hold the Connect button on the keyboard. The two devices will search for each other and re-establish pairing.
Step 4: If your receiver has no button, download the manufacturer’s pairing utility. Logitech offers Logitech Unifying Software, and Microsoft provides the Mouse and Keyboard Center. These tools guide you through a guided re-pairing process.
Step 5: Test by typing in a text document. If keys register, the sync succeeded.
Time needed: 3 to 5 minutes, plus any download time for manufacturer software.
Fix 4: Drain Residual Charge (the Forgotten Step)
Keyboards store a small amount of electrical charge in their capacitors even after batteries are removed. This residual charge can keep the internal radio in a confused state, preventing a clean restart. Dell support specifically recommends draining this charge before reinserting batteries.
Step 1: Remove all batteries from the keyboard.
Step 2: With the batteries out, press and hold any key for 30 seconds. This drains the residual charge from the internal capacitors.
Step 3: While still holding, press the power button or toggle the power switch off and on.
Step 4: Release all keys, insert fresh batteries, and turn the keyboard on.
Step 5: Attempt to reconnect using the pairing or resync steps above.
Time needed: 1 minute of holding plus reassembly. This fix is especially effective for keyboards that show a red light briefly then die.
Fix 5: Rule Out Defective New Batteries
It sounds obvious, but new batteries straight from the package are not always fully charged. Users on Reddit and Apple support forums repeatedly report cases where the second set of new batteries solved the problem. Cheap store-brand batteries and batteries that have sat on shelves for years are particularly prone to low voltage.
Step 1: Test your new batteries in another device, such as a TV remote or flashlight. If they work there, the batteries are likely fine. If they do not, try a different set.
Step 2: If possible, use a battery tester or multimeter to check voltage. A fresh AA should read 1.5 volts or higher. Anything below 1.3 volts is too weak to power a keyboard reliably.
Step 3: Try a different battery brand. Some keyboards are picky about voltage consistency. Alkaline batteries from a major brand often work when generic batteries fail.
Step 4: If your keyboard uses a rechargeable pack instead of disposable batteries, the pack itself may have failed. Contact the manufacturer for a replacement.
Time needed: 5 minutes. This eliminates the simplest explanation before you waste time on complex fixes.
Fix 6: Test on Another Device
Testing on a second computer isolates whether the problem is the keyboard or your system. This step takes two minutes and saves hours of misdirected troubleshooting.
Step 1: Plug the USB receiver into a different computer, or pair the Bluetooth keyboard with a phone or tablet.
Step 2: If the keyboard works on the second device, the problem is with your original computer. Move on to the advanced driver fixes below.
Step 3: If the keyboard fails on both devices, the keyboard itself is faulty. At that point, cleaning contacts and draining charge are your best remaining options before considering replacement.
Time needed: 2 minutes. This is the single most informative diagnostic step in this entire guide.
Advanced Fixes When Basic Steps Don’t Work
If the quick fixes and main troubleshooting steps have not resolved the issue, the problem likely involves drivers, system settings, or interference. These solutions require a few more steps but address deeper causes.
Reinstall HID Drivers via Device Manager
Corrupted HID (Human Interface Device) drivers can prevent Windows from recognizing your keyboard even when the hardware connection is solid. Symptoms include the keyboard appearing in Device Manager with a yellow warning icon, or the keyboard working in BIOS but not after Windows loads.
Step 1: Right-click the Start button and select Device Manager.
Step 2: Expand the Keyboards section. If your keyboard is not listed there, look under Human Interface Devices.
Step 3: Right-click the keyboard entry and select Uninstall device. Confirm the uninstallation.
Step 4: Unplug the USB receiver or turn off the keyboard, then plug it back in or turn it on. Windows will automatically reinstall the driver.
Step 5: If Windows does not reinstall the driver automatically, restart the computer. The driver reinstall completes during boot.
Step 6: Check the manufacturer website for driver updates specific to your keyboard model. Logitech, Microsoft, and Dell all offer downloadable drivers and configuration utilities that can resolve persistent connection issues.
Keyboard Works in BIOS but Not Windows
This specific symptom points to a software conflict rather than a hardware failure. If your keyboard works fine during boot when you can enter BIOS or choose a boot device, but stops working once Windows loads, the problem is almost always driver-related or caused by Fast Startup.
Fast Startup, a Windows feature designed to speed up boot times, can interfere with USB device initialization. To disable it:
Step 1: Open Control Panel and go to Power Options.
Step 2: Click Choose what the power buttons do on the left sidebar.
Step 3: Click Change settings that are currently unavailable at the top.
Step 4: Uncheck Turn on fast startup (recommended).
Step 5: Save changes and restart the computer.
If the keyboard works normally after restarting with Fast Startup disabled, you have found the culprit. You can leave Fast Startup off permanently with minimal impact on boot speed.
Check for Wireless Interference
Wireless keyboards operate on the 2.4GHz frequency band, the same crowded spectrum used by Wi-Fi, microwaves, Bluetooth devices, and cordless phones. If your keyboard connects intermittently or drops connection after a few seconds, interference may be the cause.
Common interference sources to check:
Move the USB receiver closer to the keyboard using a USB extension cable. Receivers plugged into the back of a desktop computer often sit behind metal cases that block the signal. A six-foot extension cable lets you position the receiver in line of sight.
Keep the keyboard away from Wi-Fi routers and other 2.4GHz devices. A router sitting on your desk within two feet of your keyboard can create enough interference to cause dropouts.
Check for nearby USB 3.0 devices and cables. USB 3.0 generates broadband noise in the 2.4GHz range. Moving the receiver to a USB 2.0 port or away from USB 3.0 devices can resolve persistent interference.
Update Keyboard Firmware
Some premium keyboards from Logitech, Razer, and Corsair support firmware updates. A firmware bug can prevent reconnection after power loss, and manufacturers occasionally release patches that address exactly this scenario.
Check the manufacturer support page for your specific model number. Download any available firmware update utility and follow the instructions. You may need a wired connection or a different computer to complete the update if your keyboard is non-functional wirelessly.
When to Accept Your Keyboard Is Broken
If you have tried every fix in this guide and the keyboard still shows no signs of life, the internal circuitry may have failed. This happens more often than manufacturers admit, particularly in keyboards that are several years old. A power surge from a faulty battery, liquid damage that went unnoticed, or simple component aging can all kill a keyboard permanently.
The clearest sign of hardware death is complete unresponsiveness on multiple devices with multiple sets of confirmed-good batteries, even after contact cleaning and charge draining. At that point, replacement is more cost-effective than professional repair. A quality wireless keyboard costs less than a single visit to a repair shop, and you get a fresh warranty.
Before buying, consider what type of connection you need. If you struggled with USB receiver issues, a Bluetooth keyboard eliminates the dongle entirely. If you want reliability above all, look for models with replaceable battery packs and strong user reviews specifically mentioning longevity.
FAQs
How do I reconnect my wireless keyboard after changing batteries?
Turn off the keyboard, go to Bluetooth settings or your USB receiver utility, and remove or forget the device. Turn the keyboard back on, put it in pairing mode by pressing the Connect button, then select it from your device list to re-pair. Test by typing in a text field.
Why is my keyboard not working after changing batteries?
Common causes include lost pairing data when batteries were removed, poor battery contact in the compartment, defective new batteries, a disconnected USB receiver, or corrupted HID drivers. Start by reseating the batteries firmly, then re-pair the device.
How do I reset an unresponsive wireless keyboard?
Turn off the keyboard and remove the batteries. Wait 30 seconds, then press and hold any key to drain residual charge from the capacitors. Reinsert the batteries, turn the keyboard on, and attempt to reconnect.
How to fix keyboard not pairing?
Open Bluetooth settings and forget or remove the keyboard. Put the keyboard in pairing mode by pressing its Connect button until the LED blinks rapidly. Select the keyboard from the available devices list and confirm any pairing code that appears on screen.
Why does my keyboard only work when I press the batteries hard?
The spring contacts inside the battery compartment have compressed or corroded over time, preventing firm contact with the batteries. Clean the contacts with vinegar on a cotton swab, then gently bend the negative spring terminal outward to restore tension.
Conclusion
A wireless keyboard that refuses to reconnect after a battery change is frustrating, but the fix is usually simple. In most cases, reseating the batteries, re-pairing the device, or draining residual charge solves the problem in under five minutes. Battery contact cleaning addresses the hidden cause that most guides miss entirely.
Work through the fixes in order, starting with the quick fixes and advancing to driver reinstall only if the simple steps fail. Test on a second device early in the process to isolate whether the keyboard or your computer is the actual problem. Knowing exactly why your wireless keyboard won’t reconnect after changing batteries saves you from unnecessary replacement and gets you back to typing fast.
If every fix fails and the keyboard shows no response on multiple devices with confirmed-good batteries, the internal hardware has likely failed. At that point, a replacement keyboard is the practical path forward.