
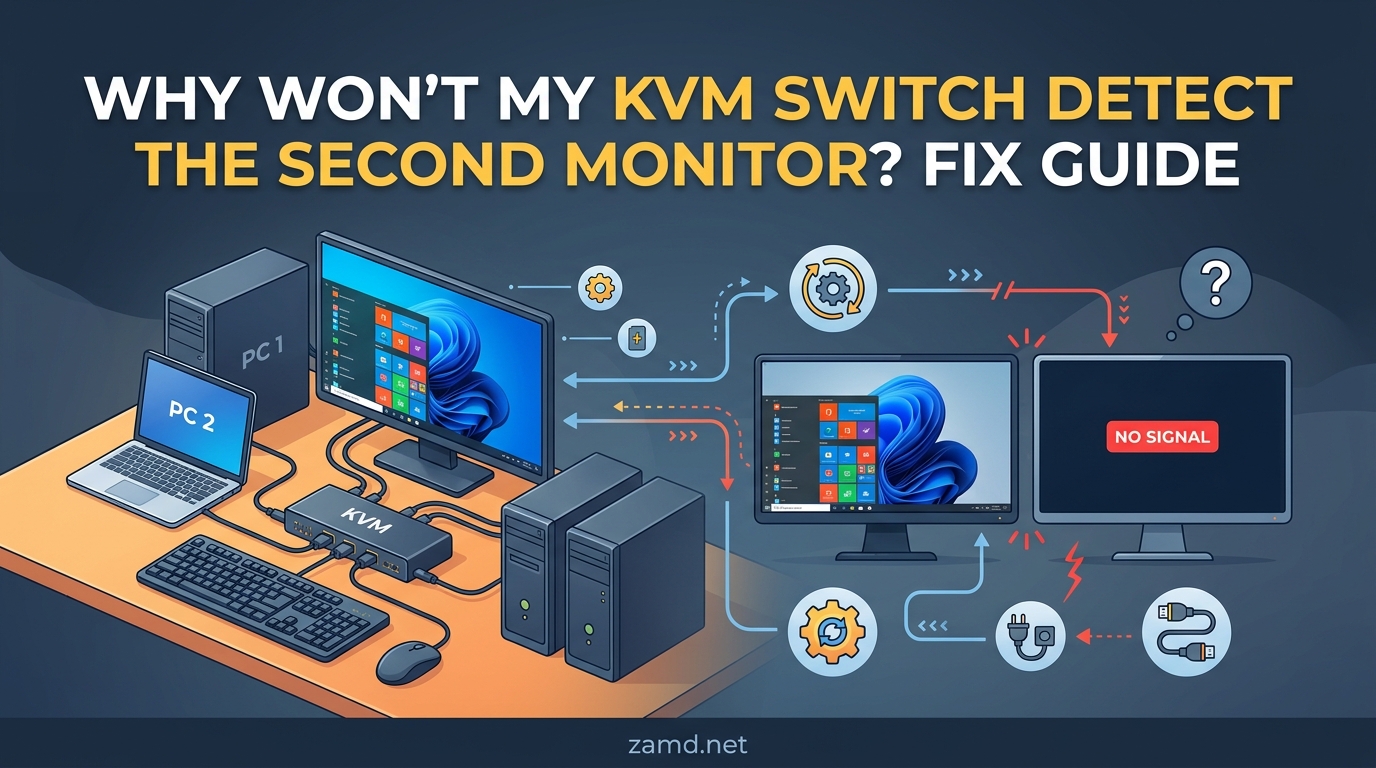
If your KVM switch second monitor is not detected, the most common cause is surprisingly simple: your dual monitor KVM requires two separate video connections from each computer. Many users assume one cable handles both displays, but dual monitor KVM switches need one video cable per monitor from every connected computer.
I have helped dozens of people troubleshoot this exact issue across home office setups, multi-computer workstations, and USB-C laptop docking configurations. In nearly every case, the fix comes down to verifying connections, checking adapter compatibility, or adjusting display settings. This guide walks through every possible cause and the exact steps to resolve each one.
Whether you are dealing with a black screen, a “no signal” message, or a monitor that Windows simply refuses to recognize, we will cover brand-agnostic solutions that work across all KVM switch manufacturers. Let us start with the number one reason this happens.
Table of Contents
The #1 Reason: Your Dual Monitor KVM Needs Two Video Connections
Here is the single most important thing to understand about KVM switch dual monitor setups: a true dual monitor KVM requires two video cables running from each computer to the KVM switch. One cable feeds the first monitor, and the second cable feeds the second monitor.
Many people buy a KVM switch labeled “dual monitor” and expect a single HDMI or DisplayPort cable from their computer to somehow split into two displays. That is not how these devices work. The KVM acts as a switcher for each video path independently. If only one video connection exists between your computer and the KVM, only one monitor will ever be detected.
How to Check If Your KVM Actually Supports Dual Monitors
Look at the back of your KVM switch. Count the video input ports for each computer channel. A genuine dual monitor KVM will have two video input ports per computer. For example, a 2-computer dual monitor KVM should have four total video inputs on the computer side and two video outputs going to the monitors.
If your KVM only has one video input per computer, it is a single monitor KVM regardless of what the marketing claims. Some KVMs include a USB hub alongside a single video output and advertise themselves as supporting “dual monitors” because you can plug a second display into your computer directly. That is not the same thing.
Users on Reddit’s homelab community frequently discover this the hard way. One common post reads: “The KVM you linked only supports one display output.” Always verify the port count before assuming the device handles dual displays.
Quick Diagnosis Checklist Before You Troubleshoot
Before diving into detailed steps, run through this quick checklist. These five checks solve roughly 60% of all KVM switch monitor detection issues without any further troubleshooting.
First, confirm your KVM has two video input ports per computer. Second, verify both video cables are seated firmly at the computer, the KVM, and both monitors. Third, make sure both monitors are powered on and set to the correct input source. Fourth, check that your operating system display settings are set to Extend, not Show only on one display. Fifth, try power cycling the KVM by unplugging it for 30 seconds.
Symptoms vs Causes: Identify Your Specific Problem
Different symptoms point to different root causes. Here is a breakdown to help you identify what you are dealing with.
Monitor not detected by the OS: The operating system shows no second display in display settings. This typically means no video signal is reaching the KVM from the computer, or the KVM is not passing it through. Check cable connections and verify the KVM supports dual video paths.
No signal on the monitor: The monitor powers on but displays a “no signal” message. This usually indicates a cable issue, adapter incompatibility, or that the KVM is not switching to the correct input. Try replacing the cable or testing a direct connection first.
Black screen with power: The monitor receives power and has a connection but shows a black screen. This often points to a resolution mismatch, HDCP compatibility issue, or EDID handshake failure. Check that the monitor supports the resolution and refresh rate the computer is outputting.
Works on one computer but not another: The second monitor works perfectly when you switch to computer A but not computer B. This points to a configuration difference between the two computers. Check video drivers, output settings, and adapter compatibility on the problematic computer.
Step-by-Step: Fix KVM Switch Second Monitor Not Detected
Follow these steps in order. Each one builds on the previous, so do not skip ahead even if you think you have already checked something.
Step 1: Verify All Cable Connections at Both Ends
This sounds obvious, but loose cables account for an enormous number of KVM monitor detection failures. I have seen cases where simply reseating a cable at the computer end caused the second monitor to be detected instantly.
Check every connection point in the chain. Start at the computer’s video output port, follow the cable to the KVM input, then from the KVM output to the monitor. Ensure each connector clicks into place fully. For DisplayPort cables, push until you hear the retention clip engage. For HDMI, make sure the connector is flush with the port.
Pay special attention to adapters and dongles in the chain. Each adapter introduces a potential point of failure. If you are using a USB-C to HDMI adapter connected to an HDMI cable connected to the KVM, that is three potential failure points for a single video path.
Step 2: Check Adapter Compatibility
Adapters are one of the most common culprits behind KVM switch second monitor detection issues. Not all adapters work the same way, and some are fundamentally incompatible with certain KVM switches.
The key distinction is between active and passive adapters. A passive adapter simply reshapes the physical connector. An active adapter includes a chipset that converts the signal from one format to another. DisplayPort to HDMI adapters, for example, must be active to work reliably through a KVM switch.
If you are using a passive adapter, replace it with an active one. Active adapters cost slightly more but include the signal conversion circuitry needed to maintain a stable video path through a KVM. This single change fixes a large percentage of stubborn detection issues.
Step 3: Adjust Your Operating System Display Settings
Sometimes the KVM and cables are fine, but the operating system is not configured to detect or use the second monitor. On Windows, right-click the desktop and select Display settings. Scroll down to the Multiple displays section and click Detect.
If Windows finds the second monitor, set the display mode to Extend these displays. If Windows still cannot find it, try pressing the Windows key plus P and selecting Extend. On macOS, go to System Settings, then Displays, and check if the second display appears. If not, click the plus button to add it manually.
For Windows 11 specifically, some users report that the second monitor through a KVM is detected but disabled. Open Display settings, select the second monitor, and make sure it is set to Extend rather than Disconnect this display.
Step 4: Check Boot Sequence and Power Cycling
Boot sequence timing is an underrated cause of KVM monitor detection problems. When a computer boots, it queries all connected displays to establish resolution, refresh rate, and timing information. If the KVM is not powered on or not switched to the correct computer during boot, the computer may not detect the second monitor.
The fix is straightforward. Power off the computer, make sure the KVM is powered on and switched to that computer, then boot the computer. This ensures the KVM is ready to pass the display query through to both monitors during the startup handshake.
If you are still having issues, try a full power cycle. Shut down all connected computers. Unplug the KVM from power for 30 seconds. Plug it back in and wait for it to fully initialize. Then boot the first computer and check both monitors. Repeat for each connected computer.
This timing issue is particularly common with DisplayPort connections. DisplayPort uses a handshake protocol that can fail if the KVM switches inputs during the detection process. Keeping the KVM on the correct computer during boot prevents this.
Step 5: Test a Direct Connection to Isolate the Problem
If none of the above steps work, you need to determine whether the problem is the KVM, the cable, the adapter, or the computer. The fastest way to do this is to bypass the KVM entirely.
Disconnect the video cable from the KVM input and connect it directly from the computer to the monitor. If the monitor is detected, the issue lies with the KVM or the cable between the KVM and the monitor. If the monitor is still not detected, the problem is with the computer, the cable, or the adapter on the computer side.
This direct connection test narrows down the problem in under two minutes. Once you know which side the issue is on, you can focus your troubleshooting there instead of guessing.
Adapter-Specific Troubleshooting: USB-C, HDMI, and DisplayPort
Different video standards interact with KVM switches in different ways. Here is a breakdown of the most common adapter types and the specific issues each one can cause.
USB-C and DisplayPort Alt Mode
USB-C is one of the trickiest connections to get working through a KVM switch. Not all USB-C ports support video output. A USB-C port must support DisplayPort Alt Mode to carry a video signal, and not every USB-C port does.
Check your computer’s specifications to confirm the USB-C port supports DisplayPort Alt Mode. On Windows laptops, look for a USB-C port labeled with a DisplayPort icon or a thunderbolt symbol. On MacBooks, Thunderbolt 3 and later ports support DisplayPort Alt Mode natively.
If your USB-C port does support Alt Mode, the next step is to verify your USB-C cable is capable of carrying video. Some USB-C cables are charge-only and have no data or video conductors. Use a cable rated for DisplayPort Alt Mode or Thunderbolt.
A common scenario: a user has a USB-C dock that works perfectly when connected directly to the monitor, but fails when routed through a KVM. This happens because the KVM may not support the specific DisplayPort Alt Mode implementation the dock uses. In this case, you may need a KVM with native USB-C input support rather than adapter-based input.
HDMI Adapter Issues
HDMI is generally more plug-and-play than DisplayPort, but it has its own quirks with KVM switches. The most common HDMI issue is adapter direction. HDMI to DisplayPort adapters are typically one-way devices. An adapter designed to convert HDMI output to DisplayPort input will not work in reverse.
Check the direction label on your adapter. If it says HDMI to DisplayPort, it expects an HDMI source and a DisplayPort display. If your KVM has DisplayPort outputs and your monitor has HDMI inputs, you need a DisplayPort to HDMI adapter, not the other way around.
Another HDMI issue involves HDCP, the copy protection standard used for video signals. Some KVM switches do not pass HDCP handshake information correctly, which can cause monitors to display a black screen even though the connection is detected. This is especially common with monitors that enforce HDCP strictly, such as those used for streaming protected content.
DisplayPort-Specific Problems
DisplayPort has a known issue with KVM switches related to the DisplayPort handshake protocol. When a DisplayPort connection is interrupted by switching the KVM to another computer, the DisplayPort source may enter a low-power state and fail to reinitialize when switched back.
One workaround is to use DisplayPort cables with latching connectors that maintain physical contact more reliably. Another is to disable DisplayPort deep sleep mode in your monitor’s settings menu if such an option exists.
Some users on the Level1Techs forum report that DisplayPort works fine when connected directly but fails through the KVM. This often means the KVM does not support the specific DisplayPort version or feature set the computer is using. Check that the KVM supports the same DisplayPort version (1.2, 1.4, etc.) as your computer and monitor.
VGA and Legacy Connections
VGA is an analog signal, which means it degrades over distance and through adapter chains. If you are using VGA through a KVM, keep cable lengths as short as possible. VGA does not carry EDID information digitally, so the computer may default to a generic resolution rather than the monitor’s native resolution.
If you have a choice, upgrade from VGA to a digital connection like HDMI or DisplayPort. Digital connections carry EDID data and provide far more reliable detection through a KVM switch.
Resolution and EDID Issues
EDID, or Extended Display Identification Data, is the information a monitor sends to the computer describing its capabilities. This includes supported resolutions, refresh rates, and timing information. The computer reads this data during the display detection handshake.
KVM switches complicate EDID handling because they sit between the computer and the monitor. Some KVMs pass EDID data directly through, while others use EDID emulation. EDID emulation means the KVM stores a copy of the monitor’s EDID and presents it to the computer, which helps maintain detection even when the KVM switches to another computer.
If your KVM does not support EDID emulation, the computer may lose the second monitor’s EDID when you switch away and switch back. This results in the second monitor not being detected after a KVM switch. The workaround is to switch to the computer, wait a few seconds, then use the detect display function in your operating system.
Resolution mismatches can also cause detection failures. If the computer outputs a resolution the monitor does not support, the monitor may display a black screen or report no signal even though the connection is detected. Check your display settings and set the resolution to one the monitor explicitly supports.
Mac-Specific and Laptop Issues
MacBooks and laptops introduce additional complexity to KVM switch dual monitor setups. The most common issue is closed-lid mode, also called clamshell mode on macOS.
When a MacBook lid is open, the internal display acts as the primary monitor and external displays extend the desktop. When the lid closes, macOS switches to single-display mode using only the external monitor. This transition can confuse the KVM if it was configured for two active video paths.
To use a MacBook in closed-lid mode with a dual monitor KVM, connect both external monitors through the KVM, set the display arrangement in macOS, then close the lid. If the second monitor is not detected after closing the lid, open System Settings, go to Displays, and click Detect Displays while holding the Option key.
For Windows laptops, the behavior is similar. Closing the lid may trigger a sleep or hibernation state depending on power settings. Go to Control Panel, Power Options, then Choose what closing the lid does, and set it to Do nothing to prevent display detection loss.
Another laptop-specific issue involves switching between computers. When you switch the KVM from a desktop to a laptop, the laptop may need a few seconds to reinitialize its video output. If the second monitor is not detected immediately, wait 5 to 10 seconds and check again. Hot plugging a monitor through a KVM can cause detection timing issues that resolve themselves given a moment.
Why Won’t My KVM Switch Detect the Second Monitor: FAQ
Why is my 2nd monitor not being detected?
Your second monitor may not be detected because the KVM switch does not have two video input paths from the computer, the video cable is loose or faulty, an adapter is incompatible, or the operating system display settings are configured to show only one display. Check that your KVM has two video inputs per computer, reseat all cables, and use the Detect function in your display settings.
How to connect dual monitors to a KVM switch?
Run two separate video cables from each computer to the KVM switch inputs. Connect two video cables from the KVM outputs to each monitor. Power on the KVM first, then boot each computer while the KVM is switched to it. Set your operating system to Extend display mode to activate both screens.
How do I force Windows to detect a second monitor?
Right-click the desktop, select Display settings, and click the Detect button under Multiple displays. You can also press Windows key plus P and select Extend. If the monitor is still not found, try updating your graphics driver, then restart the computer while the KVM is powered on and switched to that computer.
Why is USB-C not detecting the monitor?
USB-C will not detect a monitor if the port does not support DisplayPort Alt Mode, the cable is charge-only, or the KVM switch does not support the DisplayPort Alt Mode implementation. Verify your USB-C port supports video output, use a cable rated for DisplayPort Alt Mode, and test the monitor with a direct USB-C connection before adding the KVM.
Conclusion
When your KVM switch second monitor is not detected, the solution almost always comes down to one of five things: missing video connections, loose or incompatible cables, adapter issues, operating system settings, or boot sequence timing. Start by confirming your KVM actually has two video inputs per computer, then work through the cable and adapter checks.
If you have tried every step in this guide and the second monitor still will not detect, the issue may be a firmware limitation or hardware defect in the KVM itself. Contact the KVM manufacturer’s support with details about your specific setup, including computer model, monitor model, cable types, and adapter types. Many manufacturers can provide firmware updates or specific configuration guidance for your hardware combination.