
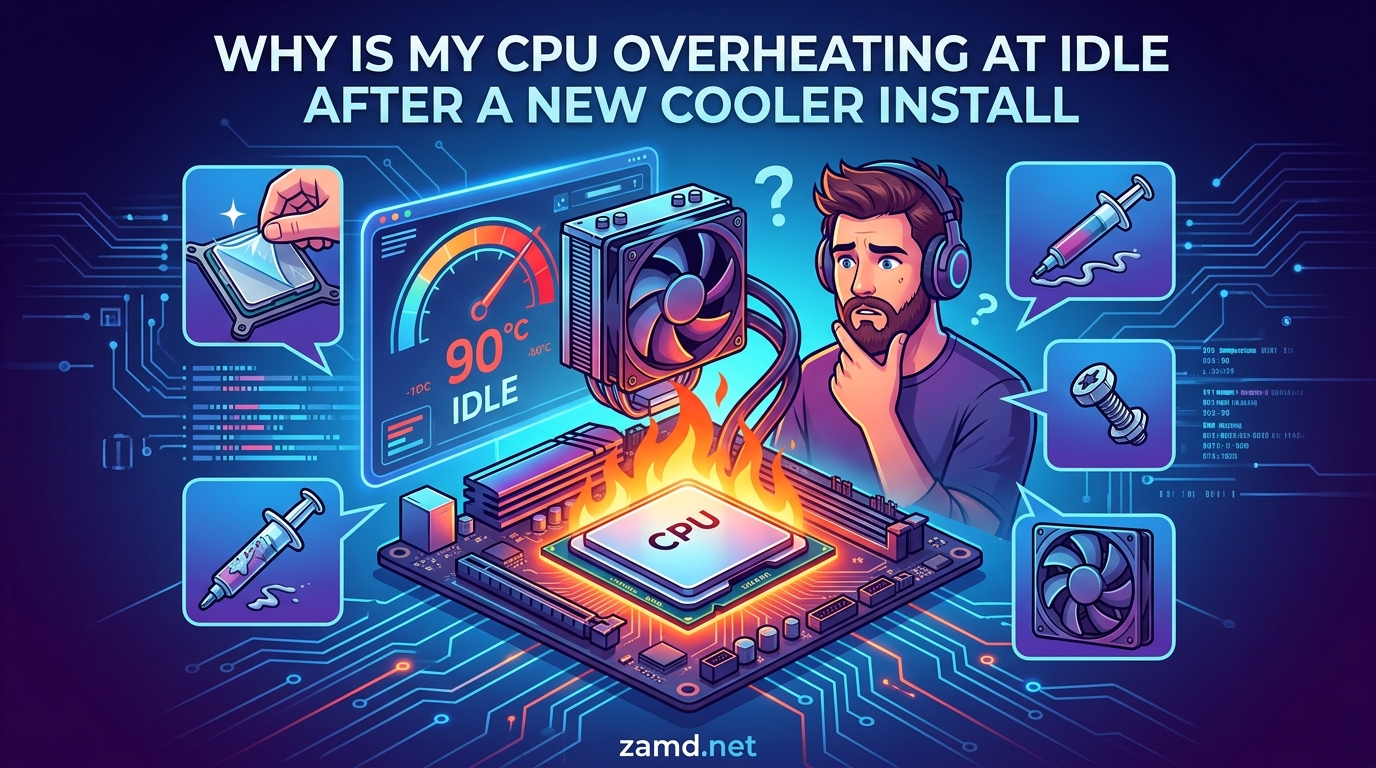
You just installed a brand-new CPU cooler, fired up your PC, and your idle temperatures are sitting at 70, 80, or even 100 degrees Celsius. If you are wondering why your CPU is overheating at idle after a new cooler install, you are not alone. This is one of the most common issues PC builders face, and in nearly every case, the fix takes under 30 minutes.
I have built and troubleshot dozens of systems over the years, and I can tell you that a new cooler making temperatures worse almost always comes down to one of five things: mounting pressure, thermal paste, a forgotten piece of plastic, an AIO pump issue, or loose backplate screws. The good news is that each of these is easy to diagnose and fix once you know what to look for.
This guide walks you through every possible cause, gives you a step-by-step troubleshooting checklist, and tells you the exact temperature benchmarks to watch for. By the end, you will know exactly what is wrong and how to fix it.
Table of Contents
What Are Normal CPU Temperatures?
Before tearing your system apart, you need to know what counts as a problem. Idle temperatures tell you a lot about how well your cooler is functioning.
A healthy CPU idling at desktop should sit between 30 and 50 degrees Celsius. Your idle temperature should run roughly 10 to 15 degrees above your ambient room temperature. If your room is 22 degrees, expect idle temps around 32 to 37 degrees with a decent cooler.
Under gaming or rendering loads, temperatures between 60 and 85 degrees are normal depending on your CPU model. Modern processors like the Ryzen 7 7800X3D and Intel Core i9-14900K are designed to boost until they hit their thermal limit, which can be 90 or even 95 degrees under full load by design.
Here is a quick reference for what your temperatures should look like and when to worry:
- 30 to 50 degrees at idle: Normal and healthy. Your cooler is working as intended.
- 50 to 65 degrees at idle: Slightly high. Could be a minor mounting issue or warm ambient temperature.
- 65 to 80 degrees at idle: Problem zone. Something is wrong with your cooler installation or thermal contact.
- 80 to 90 degrees at idle: Serious issue. Shut down and troubleshoot before running any demanding tasks.
- 90+ degrees at idle: Dangerous. Your cooler is likely not making contact with the CPU at all. Power off immediately.
Ambient room temperature plays a bigger role than most people realize. If your room is 30 degrees in the summer, your idle temps will naturally run higher. But a 10-degree jump after installing a new cooler is not normal, and that signals an installation problem.
Now let us look at why this happens and how to fix it.
Why Is My CPU Overheating at Idle After a New Cooler Install: Top 5 Causes
When a brand-new cooler results in worse temperatures than the stock cooler it replaced, the problem is almost never the cooler itself. It is the installation. Here are the five most common culprits, ranked by how frequently they appear in real-world troubleshooting forums.
1. Loose or Improperly Installed Backplate Screws
This is the number one cause by a wide margin. I have seen forum users report 100-degree idle temps that dropped to 32 degrees immediately after tightening four screws. The backplate sits behind the motherboard and holds the mounting mechanism for your cooler.
If the backplate screws are loose, the cooler cannot apply enough pressure to the CPU heat spreader. Without that pressure, thermal transfer drops dramatically, and heat stays trapped in the processor.
The tricky part is that screws can feel tight when they are actually not fully seated. On Intel sockets, the backplate can shift during installation if screws are not tightened in the correct order. On AMD AM4 and AM5 boards, the retention bracket and backplate must seat flush before mounting the cooler.
One forum user on Tom’s Hardware spent days replacing thermal paste and reseating their cooler, only to discover the Intel backplate screws behind the motherboard were barely finger-tight. Tightening them solved the problem instantly.
2. Incorrect Thermal Paste Application
Thermal paste fills microscopic gaps between the CPU heat spreader and the cooler’s cold plate. Too much paste acts as an insulator, and too little leaves gaps where air pockets form.
The right amount is roughly a rice-sized drop placed in the center of the CPU. When you mount the cooler and tighten it down, that drop spreads into a thin, even layer across the surface.
Common paste mistakes include spreading it manually with a card (which traps air bubbles), applying way too much (which squeezes out the sides and reduces contact pressure), or reusing old dried paste that has gone crusty.
After removing your cooler, check the paste pattern on both the CPU and the cold plate. A good application leaves a round, even circle covering most of the heat spreader without reaching the edges. If you see thick clumps, bare spots, or paste only in one corner, that is your problem.
3. Protective Film Left on the Cold Plate
This one sounds silly, but it happens constantly. Many new coolers, especially AIO liquid coolers, ship with a clear plastic or mylar film protecting the copper cold plate. That film is meant to be peeled off before installation.
If you forget to remove it, you are asking the cooler to transfer heat through a layer of plastic. Plastic is a terrible thermal conductor. Your temperatures will spike immediately, often to 90 degrees or higher at idle.
Reddit users report this issue regularly. One builder discovered the film on their brand-new AIO after weeks of high temperatures. The fix took ten seconds and dropped temps by 60 degrees.
Always check for a protective film before mounting any new cooler. Look for a tab or edge that peels away from the copper or nickel surface.
4. AIO Pump Failure or Not Spinning
If you installed an all-in-one liquid cooler, the pump must run for the system to cool properly. A dead or misconfigured pump means no coolant circulates, and the CPU temperature climbs rapidly.
Check that the pump cable is plugged into the correct header on your motherboard. Many builders accidentally plug the pump into a chassis fan header that runs at low RPM, or into a header controlled by CPU temperature curves that keep the pump nearly off at idle.
You can verify pump operation by placing a finger on the pump housing on the CPU block. You should feel a slight vibration. If the pump is silent and still, check your BIOS settings and ensure the header is set to run at full speed or a fixed percentage.
Another AIO issue is the radiator position. If the pump is the highest point in the loop, air bubbles collect there and block coolant flow. Always mount the radiator higher than the pump to prevent this.
5. Poor Mounting Pressure
Even if your screws are tight, uneven tightening can cause the cooler to sit at an angle. One side makes contact while the other lifts off the heat spreader. This creates a gap that destroys thermal transfer.
The solution is the criss-cross tightening method. Tighten each screw a little at a time, working in an X pattern across the cooler. Give each screw a quarter turn, then move to the opposite corner. Repeat until all screws are snug. This ensures even pressure distribution across the entire contact surface.
Some coolers use spring-loaded screws that bottom out at the correct tension. If your cooler has these, tighten until you feel the spring resistance and the screw stops turning. Do not force it past that point.
Step-by-Step Troubleshooting Guide
Follow these steps in order. Each one takes only a few minutes, and you will likely find your problem before reaching the end of the list.
Step 1: Verify Temperatures in BIOS
Software monitoring tools can report inaccurate readings, especially right after a cooler change. Restart your PC and enter the BIOS by pressing Delete or F2 during boot.
Navigate to the hardware monitoring section and check the CPU temperature listed there. BIOS readings come directly from the motherboard sensor and are generally more reliable than third-party software.
If BIOS shows a normal temperature but your software shows high temps, the issue may be with the monitoring tool rather than your cooler. If BIOS also shows high temperatures, proceed to the next step.
Step 2: Inspect Backplate Screws
Power down your system and unplug the power cable. Open your case and locate the backplate behind the motherboard. If your case has a cutout behind the CPU socket, you can check screws without removing the motherboard.
Gently try to wiggle each backplate screw with your fingers. If any screw turns easily or the backplate shifts, that is your problem. Tighten all four screws until snug, using the criss-cross pattern.
If you cannot access the backplate without removing the motherboard, go ahead and remove it. This is the most common fix, and it is worth the effort. Many builders skip this step and never solve their overheating.
Step 3: Check Thermal Paste Coverage
Remove your cooler and inspect the thermal paste pattern on both the CPU heat spreader and the cooler cold plate. This tells you exactly what happened during mounting.
A correct pattern shows even coverage across the center of the CPU, spreading outward in a circle. If paste only appears on one side, your cooler was tilted during mounting. If there is bare metal in the center, you used too little paste.
Clean off the old paste using isopropyl alcohol and a lint-free cloth. Apply a fresh rice-sized drop in the center of the CPU. Do not spread it manually. Let the mounting pressure do the work.
Step 4: Remove Any Protective Film
While you have the cooler off, examine the cold plate closely. Look for a clear or tinted plastic film on the copper surface. Check every edge and corner, because some films are nearly invisible.
If you find a film, peel it off completely. Wipe the cold plate with isopropyl alcohol to remove any adhesive residue. This single step has fixed overheating issues for countless builders.
Step 5: Test AIO Pump Functionality
For liquid cooler users, verify the pump is running before remounting. Plug the pump into the CPU fan header or a dedicated pump header on your motherboard. Power on the system and place a finger on the pump housing.
You should feel vibration and hear a faint humming sound. If nothing happens, check the SATA power connection to the pump (some AIOs use SATA power rather than motherboard headers). Check that the header in BIOS is set to DC or PWM mode matching your pump type.
If the pump is dead, contact the manufacturer for a replacement. A failed pump on a new AIO is rare but does happen.
Step 6: Remount Using Criss-Cross Tightening
With paste applied and the film removed, remount your cooler carefully. Lower it straight down onto the CPU without sliding it around, which can smear the paste unevenly.
Tighten the screws in a criss-cross or X pattern. Start with the top-left screw, giving it a half turn. Move to the bottom-right screw and do the same. Then the top-right, then the bottom-left. Repeat this cycle, giving each screw a half turn each time, until all four are fully tight.
This method applies even pressure and prevents the cooler from tilting. It is the single most effective technique for getting proper thermal contact.
Step 7: Test With Side Panel Off
Boot your system with the side panel removed and check idle temperatures. If temps are now normal, your cooler installation was the issue. If temps are still high with the panel off, case airflow is not the problem, and you should revisit steps 2 through 6.
If temps are normal with the panel off but rise with the panel on, you have an airflow problem. Check that your case fans are oriented correctly, with intake fans on the front and exhaust fans on the rear and top.
How to Know If Your Cooler Is Mounted Correctly
After completing the troubleshooting steps above, here is a quick checklist to confirm your cooler is properly installed:
- The cooler does not wiggle or shift when you press on it gently.
- Thermal paste shows even, circular coverage when you remove the cooler.
- Idle temperatures sit between 30 and 50 degrees Celsius.
- Load temperatures stay below 85 degrees during stress tests.
- For AIO coolers, you feel vibration from the pump and the radiator fans are spinning.
- Backplate screws are all tight and the backplate does not move behind the motherboard.
If all six items check out, your cooler is correctly installed and your overheating problem is solved.
Prevention Tips for Future Builds
Once you fix the issue, a few habits will prevent it from happening again on your next build or cooler upgrade.
Always Use the Criss-Cross Pattern
Whether you are mounting an air cooler, an AIO, or a custom water block, always tighten screws in an X pattern. This is the same technique used for wheel lug nuts and cylinder head bolts in automotive work. It distributes pressure evenly and prevents warping or tilting.
Use the Right Amount of Thermal Paste
A rice-sized drop in the center is all you need for most CPUs. For larger heat spreaders like Intel LGA 1700 or AMD AM5, you can use a slightly larger pea-sized amount. Avoid the spreading method, which traps air and creates uneven coverage.
If you want extra insurance, the line method (two thin parallel lines of paste across the heat spreader) also works well and covers the full surface when pressed.
Double-Check for Protective Film
Make checking for protective film a ritual step before every cooler installation. Even experienced builders miss it sometimes because the films are designed to be nearly invisible on polished copper surfaces.
Verify Pump Headers Before Closing the Case
For AIO installations, confirm the pump header is set correctly in BIOS before putting the side panel back on. Run the system for a few minutes at idle and confirm the pump is running. It is much easier to fix a header issue with the case open.
Warning Signs That Require Immediate Action
Sometimes overheating is not just a mounting issue. If you notice any of the following, shut down your system immediately:
- Sudden temperature spikes to 95+ degrees within seconds of booting: This usually means zero cooler contact or a completely failed pump.
- Burning smell or visible smoke: Power off instantly. Something is physically burning, and continued use can destroy your CPU.
- The system shuts down on its own during boot: This is thermal protection kicking in. Your CPU is hitting its emergency cutoff temperature.
- Thermal throttling causes severe performance drops: If your CPU clock speeds plummet to base or below while temperatures soar, it is throttling to protect itself. Fix the cooling issue before running demanding software.
These symptoms mean your CPU is at risk of permanent damage. Do not run the system until you resolve the cooling problem.
Temperature Monitoring Tools
Keeping an eye on your temperatures after a cooler install helps you catch problems early. Here are the most reliable monitoring tools:
HWiNFO64 is widely regarded as the most accurate monitoring software for Windows. It reads sensors directly from the motherboard and reports CPU package temperature, individual core temperatures, fan speeds, and pump RPM all in one interface.
Core Temp offers a simpler interface focused specifically on CPU temperatures. It sits in your system tray and shows per-core readings with a temperature overlay.
AMD Ryzen Master and Intel XTU are manufacturer tools that report accurate temperatures and let you monitor how your CPU responds to thermal changes. Ryzen Master is especially useful for AMD builds, as it shows the thermal margin remaining before throttling.
Always cross-reference software readings with your BIOS temperature display for the most accurate picture.
Why is my CPU overheating while I’m idle?
Your CPU is likely overheating at idle due to insufficient contact between the cooler and the CPU heat spreader. The most common causes are loose backplate screws, incorrect thermal paste application, a protective film left on the cooler’s cold plate, or a failed AIO pump. Check your mounting hardware first, as loose backplate screws account for the majority of idle overheating cases after a new cooler install.
How do I know if I installed my CPU cooler correctly?
A correctly installed CPU cooler will show idle temperatures between 30 and 50 degrees Celsius, will not move when pressed gently, and will show even circular thermal paste coverage when removed. For AIO coolers, you should feel vibration from the pump. Verify temperatures in BIOS and run a stress test to confirm load temperatures stay below 85 degrees.
Is 90 C too hot for a CPU?
At idle, 90 degrees is dangerously hot and indicates a serious cooling problem. Under full load, 90 degrees is the upper safe limit for modern CPUs like the Ryzen 9 7950X and Intel Core i9-14900K, which are designed to boost until they hit that thermal ceiling. If your CPU hits 90 degrees at idle, shut down and check your cooler mounting, thermal paste, and pump operation.
Is 72 C too hot for CPU?
At idle, 72 degrees is too hot and signals a mounting or cooling issue that needs attention. Under gaming or rendering load, 72 degrees is completely normal and safe for most CPUs. The key distinction is context: 72 degrees at idle means something is wrong, while 72 degrees under load is perfectly fine.
Conclusion
If you are dealing with CPU overheating at idle after a new cooler install, the fix almost always comes down to mounting. Check your backplate screws first, because loose hardware behind the motherboard is the single most common cause of this problem and the easiest to fix.
From there, verify your thermal paste coverage, remove any protective film from the cold plate, and confirm your AIO pump is running. Use the criss-cross tightening pattern when you remount, and check your temperatures in BIOS to confirm the fix.
In the vast majority of cases, this takes under 30 minutes and requires no new parts. Your new cooler is almost certainly fine. It just needs to be installed correctly.