
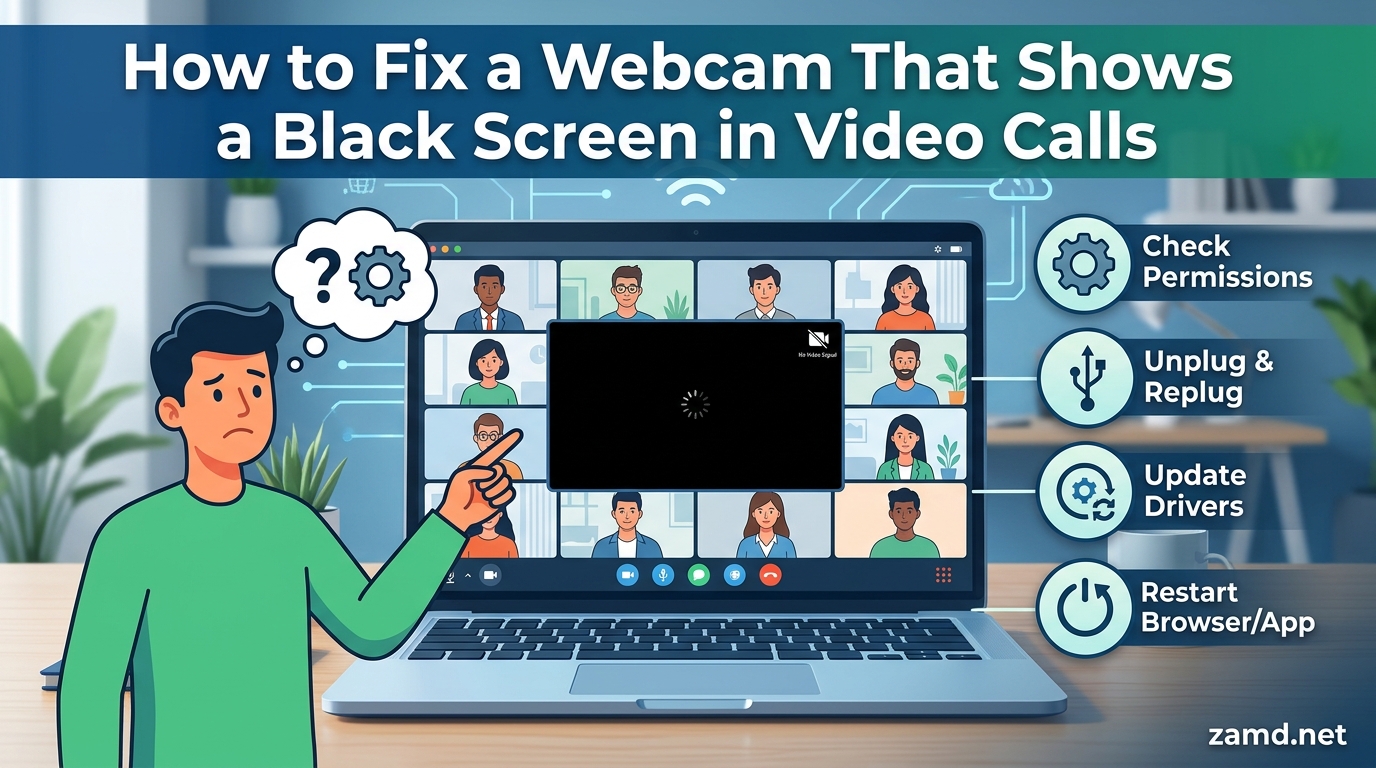
You are about to join an important video call. You open Zoom, Microsoft Teams, or Google Meet, click to start your camera, and all you see is a black screen. Sound familiar? This webcam black screen problem is one of the most frustrating tech issues remote workers, students, and casual users face in 2026.
A black screen from your webcam usually means the camera is detected by your system but no video signal is reaching the application. The good news is that most cases are fixable without buying new hardware. I have helped dozens of people troubleshoot this exact issue, and nearly every webcam black screen fix comes down to one of about ten common causes.
In this guide, you will learn exactly how to fix a webcam that shows a black screen in video calls. We will start with quick fixes that take under two minutes, then walk through a complete step-by-step troubleshooting process covering physical checks, permissions, drivers, and advanced diagnostics. I will also cover platform-specific fixes for Zoom, Teams, and OBS Studio based on real user experiences from tech support communities.
Table of Contents
Quick Fixes: Try These First
Before diving into deep troubleshooting, run through this quick checklist. These seven fixes solve the majority of webcam black screen issues in under two minutes each.
- Check your privacy shutter or camera slider. Many modern laptops (Lenovo, HP, Asus) have a physical privacy slider above the lens. Slide it open and test your camera again.
- Press the keyboard camera hotkey. Many laptops have an Fn key combination that toggles the camera on and off. Try Fn+F10, Fn+F8, Fn+F4, or look for a camera icon on your function keys. This is one of the most commonly overlooked fixes.
- Restart your computer. A simple reboot clears temporary software conflicts that can block camera access.
- Close other apps using the camera. Only one application can access your webcam at a time. Close Zoom, Teams, Skype, browser tabs, OBS, and the built-in Camera app, then reopen your video call app.
- Check Windows camera privacy settings. Go to Settings > Privacy > Camera and make sure “Allow apps to access your camera” is turned on.
- Unplug and replug external webcams. Try a different USB port, preferably a USB port directly on the computer rather than a hub.
- Select the correct camera in your video call app. Open your app’s video settings and make sure the right camera is selected from the dropdown menu.
If none of these quick fixes worked, do not worry. The detailed troubleshooting steps below will help you identify and resolve the root cause.
Why Your Webcam Shows a Black Screen: Common Causes
Understanding what causes a webcam black screen helps you pick the right fix faster. The problem almost always falls into one of four categories.
Hardware Causes
Physical issues are the first place to look. A privacy shutter or slider might be closed. Some laptops have a physical camera kill switch on the side or front edge of the chassis. A loose USB connection can cause external webcams to show a black screen instead of an error message.
Keyboard hotkeys are another physical cause that trips people up. Many Asus, HP, Acer, and MSI laptops map a function key to toggle the camera. Pressing Fn+F10 (or similar) accidentally disables the camera at the hardware level. The system still detects the camera, but the lens is electronically blocked, producing a black screen.
Software and Driver Causes
Webcam drivers can become corrupted after a Windows update, a system restore, or when a generic driver replaces the manufacturer-specific one. When the driver fails to communicate properly with the camera hardware, you see a black screen instead of an error.
A Windows update is a frequent culprit. I have seen many cases where a webcam worked perfectly one day, then showed a black screen the morning after an automatic Windows update rolled in. The update either replaced the driver or changed a system setting that revoked camera access.
Permission and Privacy Causes
Both Windows 10 and Windows 11 have strict camera privacy controls. If an application does not have camera permission, Windows blocks the video feed. The app may still detect the camera, but instead of showing an error, it displays a black screen.
Antivirus software can also block camera access as a security measure. Some security suites have their own camera protection features that override Windows permissions. If your antivirus has a webcam shield or camera protection module, it may be blocking your video call apps.
App Conflict Causes
Only one application can use a webcam at any given time. If a background app (even a browser tab) has claimed the camera, your video call app will show a black screen. Common culprits include the Windows Camera app running in the background, a browser-based video tool, OBS Studio, or another instance of Zoom that did not fully close.
How to Fix a Webcam That Shows a Black Screen in Video Calls: Step-by-Step
Follow these steps in order. Each one targets a specific cause, and most users find their fix within the first five steps.
Step 1: Check Physical Obstructions and Privacy Shutter
Start with the simplest explanation. Look directly at your webcam lens. Is there a physical privacy slider or shutter above it? Many Lenovo ThinkPads, HP laptops, and Asus machines ship with these built-in sliders. Slide it fully open.
Check for a physical camera switch on your laptop’s chassis. Some HP and MSI models place a small hardware switch on the side or front of the laptop body. Toggle it and test your camera.
If you are using an external USB webcam, check that the USB cable is firmly connected. Try plugging it into a different USB port directly on the computer, not through a hub or dock.
Step 2: Check Keyboard Hotkeys
This is the fix that most troubleshooting guides bury or skip entirely. Many laptops have a keyboard shortcut that disables the webcam at the hardware level. When toggled off, the camera light may still illuminate but the feed shows black.
Look at your function keys (F1 through F12). Do you see a camera icon with a slash through it on any of them? Common combinations include:
- Asus: Fn+F10 (confirmed by multiple Reddit users, including an Asus TUF Gaming owner who struggled for weeks before finding this fix)
- HP: Fn+F8 or a dedicated camera key
- Acer: Fn+F4 or Fn+F6
- MSI: Fn+F6
- Dell: Fn+F4 or check Dell Optimizer for camera toggle
Press the combination once and test your camera in the Windows Camera app. If it still shows black, press it again to toggle back. You may have accidentally pressed it while typing or carrying the laptop.
Step 3: Verify Camera Permissions in Windows
Windows 10 and Windows 11 both have camera privacy settings that can block apps from accessing your webcam. Here is how to check them.
On Windows 11:
- Open Settings (Windows key + I).
- Go to Privacy and security > Camera.
- Make sure “Camera access” is toggled On.
- Make sure “Let apps access your camera” is toggled On.
- Scroll down and verify that your specific video call app (Zoom, Teams, etc.) has permission enabled.
On Windows 10:
- Open Settings (Windows key + I).
- Go to Privacy > Camera.
- Ensure “Allow apps to access your camera” is On.
- Check the list below and make sure your video call app is allowed.
- Also verify “Allow desktop apps to access your camera” is On if your app is a desktop program.
If permissions were off, toggling them on and restarting your video call app should fix the black screen immediately.
Step 4: Close Conflicting Apps
Only one application can access your webcam at a time. If another program has claimed the camera, your video call app gets a black screen with no error message.
Close every application that might use the camera:
- The built-in Windows Camera app
- Any browser tabs running video tools (Google Meet in Chrome, webcam test sites)
- OBS Studio or other streaming software
- Skype, Discord, or Slack running in the background
- Any other instance of Zoom or Teams
To be thorough, open Task Manager (Ctrl + Shift + Esc), look for any camera-related processes, and end them. Then reopen your video call app and test.
Step 5: Check USB Port Conflicts (External Webcams)
If you are using an external USB webcam, USB conflicts can cause a black screen. The USB controller may be overloaded or the port may not provide enough power for the camera.
Try these steps:
- Unplug the webcam and plug it into a different USB port, preferably a USB-A port directly on the motherboard (back of a desktop) or on the laptop itself.
- Avoid USB hubs, docks, and front-panel ports for testing.
- Unplug other non-essential USB devices temporarily to reduce controller load.
- Try a USB 2.0 port instead of USB 3.0 if available, as some webcams have compatibility issues with USB 3.0 controllers.
A Reddit user on the r/techsupport forum discovered that their webcam black screen was directly related to USB devices. Removing conflicting USB connections resolved the issue after multiple other fixes had failed.
Step 6: Update, Roll Back, or Reinstall Webcam Drivers
Driver problems are one of the most common causes of a webcam black screen. The driver may be outdated, corrupted, or replaced by a generic Windows driver that does not work properly with your hardware.
To update your webcam driver:
- Right-click the Start button and select Device Manager.
- Expand the “Cameras” or “Imaging devices” category.
- Right-click your webcam and select “Update driver.”
- Choose “Search automatically for drivers” and follow the prompts.
- Restart your computer after the update completes.
To reinstall the driver (recommended if updating does not work):
- Open Device Manager and expand the Cameras category.
- Right-click your webcam and select “Uninstall device.”
- Check the box that says “Delete the driver software for this device” if it appears.
- Restart your computer. Windows will automatically reinstall a fresh driver on boot.
To roll back the driver (if a recent update caused the problem):
- In Device Manager, right-click your webcam and select Properties.
- Go to the Driver tab.
- Click “Roll Back Driver” if the button is available.
- Follow the prompts and restart your computer.
For brand-specific drivers, visit the manufacturer’s website (Dell, HP, Lenovo, Asus, Logitech) and download the latest webcam driver for your exact model. The generic Windows driver often lacks features or has bugs that the manufacturer driver fixes.
Step 7: Check Antivirus and Security Software
Many antivirus programs include webcam protection features that can block camera access to applications. Kaspersky, Bitdefender, Avast, Norton, and ESET all have webcam shield or camera protection modules.
To check if your antivirus is causing the black screen:
- Temporarily disable your antivirus software’s webcam protection feature.
- Some programs require you to add your video call app to an allowlist or exceptions list.
- Test your camera with the protection disabled.
- If the camera works, re-enable the protection and add your video call app to the allowed apps list.
Zoom’s own support documentation specifically recommends disabling security applications as a troubleshooting step for black screen issues. This confirms that antivirus interference is a well-known cause.
Step 8: Run the Windows Hardware Troubleshooter
Windows includes a built-in hardware troubleshooter that can detect and automatically fix common webcam problems. This tool can identify driver issues, permission problems, and hardware conflicts.
On Windows 11:
- Go to Settings > System > Troubleshoot > Other troubleshooters.
- Find “Camera” or “Video Playback” and click Run.
- Follow the on-screen instructions.
On Windows 10:
- Go to Settings > Update and Security > Troubleshoot.
- Click “Additional troubleshooters.”
- Find and run the Hardware and Devices troubleshooter.
- Follow the prompts and apply any recommended fixes.
Step 9: Check BIOS-Level Webcam Settings
Some laptops allow you to disable the webcam at the BIOS or UEFI level. If the camera is disabled in BIOS, Windows may still detect it but show a black screen because the hardware is turned off at the lowest level.
To check BIOS webcam settings:
- Restart your computer and press the BIOS key (usually F2, F10, F12, or Delete) during startup.
- Navigate to the Security or Advanced tab.
- Look for “Camera,” “Webcam,” or “I/O Ports” settings.
- Make sure the webcam is enabled.
- Save changes and exit BIOS.
This setting is commonly found on Dell, Lenovo, and HP business laptops where IT departments may disable cameras for security reasons. If you bought a used or refurbished laptop, the previous owner may have disabled the camera in BIOS.
Step 10: Test in Safe Mode
If none of the previous steps resolved the issue, boot into Safe Mode to determine whether third-party software is causing the conflict. Safe Mode loads only essential drivers and services.
To enter Safe Mode on Windows 10 and 11:
- Hold Shift and click Restart from the Start menu.
- Choose Troubleshoot > Advanced options > Startup Settings > Restart.
- Press 4 or F4 to boot into Safe Mode.
- Once in Safe Mode, open Device Manager and check if the webcam appears correctly.
- Try the Windows Camera app if it loads in Safe Mode.
If the webcam works in Safe Mode but shows a black screen in normal mode, a third-party application or service is causing the conflict. Disable startup programs one by one (using Task Manager > Startup tab) until you identify the culprit.
If the webcam still shows a black screen in Safe Mode, the problem is likely at the hardware or driver level. At this point, you should test with an external USB webcam to determine if the built-in camera hardware itself has failed.
Platform-Specific Solutions
Different operating systems have slightly different paths to webcam settings. Here are the specific steps for the most common platforms.
Windows 10 Specific Steps
Windows 10 separates camera permissions into “Windows Store apps” and “desktop apps.” Make sure both categories are enabled in Settings > Privacy > Camera. Some older desktop applications only work when the desktop apps permission is specifically allowed.
Windows 10 also has a known issue where the default Camera app conflicts with third-party video calling apps. If the Camera app was the last program to use the webcam, it may hold the device handle even after closing. Open Task Manager, end any “Camera.exe” processes, and retry your video call app.
Windows 11 Specific Steps
Windows 11 changed the privacy settings layout. Camera permissions are now under Settings > Privacy and security > Camera. The interface is more granular, letting you control access per individual app rather than in broad categories.
Windows 11 also introduced a new camera pipeline that can occasionally cause compatibility issues with older webcam drivers. If your webcam worked on Windows 10 but shows a black screen after upgrading to Windows 11, the solution is usually to uninstall the current driver in Device Manager and let Windows 11 install a compatible one on restart.
macOS Specific Steps
On Mac, go to System Settings > Privacy and Security > Camera and ensure your video call app has permission. Mac cameras rarely show a black screen due to driver issues since Apple controls both the hardware and drivers.
If the camera light is on but the screen is black on a Mac, try resetting the System Management Controller (SMC). On Apple Silicon Macs, simply shut down, wait 30 seconds, and restart. On Intel Macs, the SMC reset process varies by model, so check Apple’s documentation for your specific machine.
App-Specific Black Screen Fixes
Zoom Black Screen Fix
Zoom is the most commonly reported app for webcam black screen issues. If your camera works in the Windows Camera app but shows black in Zoom, try these steps.
- Open Zoom Settings > Video and make sure the correct camera is selected.
- Click the “Test Video” button to check if Zoom can access the feed.
- Check if Zoom is on your antivirus blocklist and add it to the exceptions list.
- Close all other video apps before launching Zoom.
- If screen sharing shows a black screen, disable hardware acceleration in Zoom Settings > Share Screen.
Zoom’s official support documentation confirms that security applications and webcam access blocklists are leading causes of the black screen issue in their software.
Microsoft Teams Black Screen Fix
Teams has a known issue where it can hold onto the camera even after the app is closed. To fix this, fully quit Teams (right-click the Teams icon in the system tray and select Quit), then reopen it. Also check that Teams has camera permission in Windows Settings > Privacy > Camera.
Google Meet Black Screen Fix
Google Meet runs in the browser, so the fix is usually browser-specific. Click the camera icon in your browser’s address bar and make sure Meet is allowed to access the camera. Clear your browser cache if the issue persists. Try a different browser (Chrome, Edge, Firefox) to isolate whether the problem is browser-specific.
OBS Studio Black Screen Fix
OBS Studio users frequently report a black screen from their video capture device. A confirmed fix from the OBS community involves deleting the video capture source and re-adding it. Right-click the video capture device in your Sources panel, select Remove, then click the plus button under Sources and add a new Video Capture Device. Select your webcam from the dropdown and the feed should appear.
Also try running OBS as Administrator, changing the video capture method from “Device Default” to “DirectShow,” and disabling any other programs using the camera before launching OBS.
Hardware vs. Software: How to Tell If Your Webcam Is Physically Broken
If you have tried every step above and your webcam still shows a black screen, you need to determine whether the camera hardware itself has failed. Here is how to make that diagnosis.
Test with an external USB webcam. Plug in a known-working USB webcam and see if it works. If the external camera shows video normally but the built-in laptop camera shows black, the built-in camera hardware may have failed.
Conversely, if both the built-in camera and an external USB webcam show black screens, the problem is almost certainly software-related, not hardware. A hardware failure would not affect both cameras simultaneously.
One Reddit user shared a telling experience: their Asus TUF Gaming laptop’s built-in webcam showed a black screen after working fine during the pandemic. When they plugged in an external USB webcam, it also showed a black screen. This confirmed the issue was software or system-level, not hardware. After adjusting USB connections and system settings, the cameras began working again.
If the camera hardware has genuinely failed (only the built-in camera shows black while external cameras work fine), you have two options. You can replace the internal camera module (usually a $30-$50 part for laptop parts, plus labor), or you can use an external USB webcam as a permanent replacement. For most users, a quality external webcam is the simpler and more reliable solution.
FAQ’s
Why is my webcam showing a black screen?
Your webcam shows a black screen because of a physical obstruction, a driver problem, a permission setting, or an app conflict. Check your privacy shutter first, press your keyboard camera hotkey (such as Fn+F10), close other camera apps, verify Windows camera permissions, and update your webcam driver in Device Manager.
Why is my camera black on video calls?
Your camera appears black on video calls when the calling app does not have permission to access the webcam, another app is already using the camera, or the wrong camera is selected in the app’s video settings. Close all other camera apps, check Windows privacy settings, and verify the correct camera is selected in your video call app.
What to do if the camera shows a black screen?
If your camera shows a black screen, follow these steps: 1) Check the privacy shutter and physical camera switch, 2) Press the Fn camera hotkey, 3) Close conflicting apps, 4) Check Windows camera permissions, 5) Update or reinstall the webcam driver in Device Manager, 6) Disable antivirus webcam protection, 7) Restart your computer.
Why is the video showing black screen?
Video shows a black screen when the webcam is detected but no video signal reaches the application. Common causes include driver corruption after a Windows update, camera permissions being revoked, an app conflict where another program holds the camera, or antivirus software blocking camera access.
How do I know if my webcam is physically broken?
Test with an external USB webcam. If the external camera works but the built-in laptop camera shows black, the built-in camera hardware may be broken. If both cameras show black, the problem is software-related. A genuine hardware failure only affects one camera, not both.
Conclusion
A webcam black screen in video calls is almost always fixable without replacing hardware. The key is working through the causes systematically: start with physical checks (privacy shutter, keyboard hotkeys), then move to software (permissions, app conflicts, driver updates), and finally try advanced diagnostics (antivirus, Safe Mode, BIOS settings).
The most commonly overlooked fix is the keyboard camera hotkey. If you take one thing away from this guide, try pressing Fn+F10 (or whichever function key has a camera icon on your laptop) before doing anything else. That single step has saved many users hours of unnecessary troubleshooting.
To prevent future webcam black screen issues, keep your drivers updated, avoid installing multiple camera management programs, and check Windows camera permissions after every major system update. If all else fails, an external USB webcam is a reliable backup that bypasses built-in camera issues entirely.