
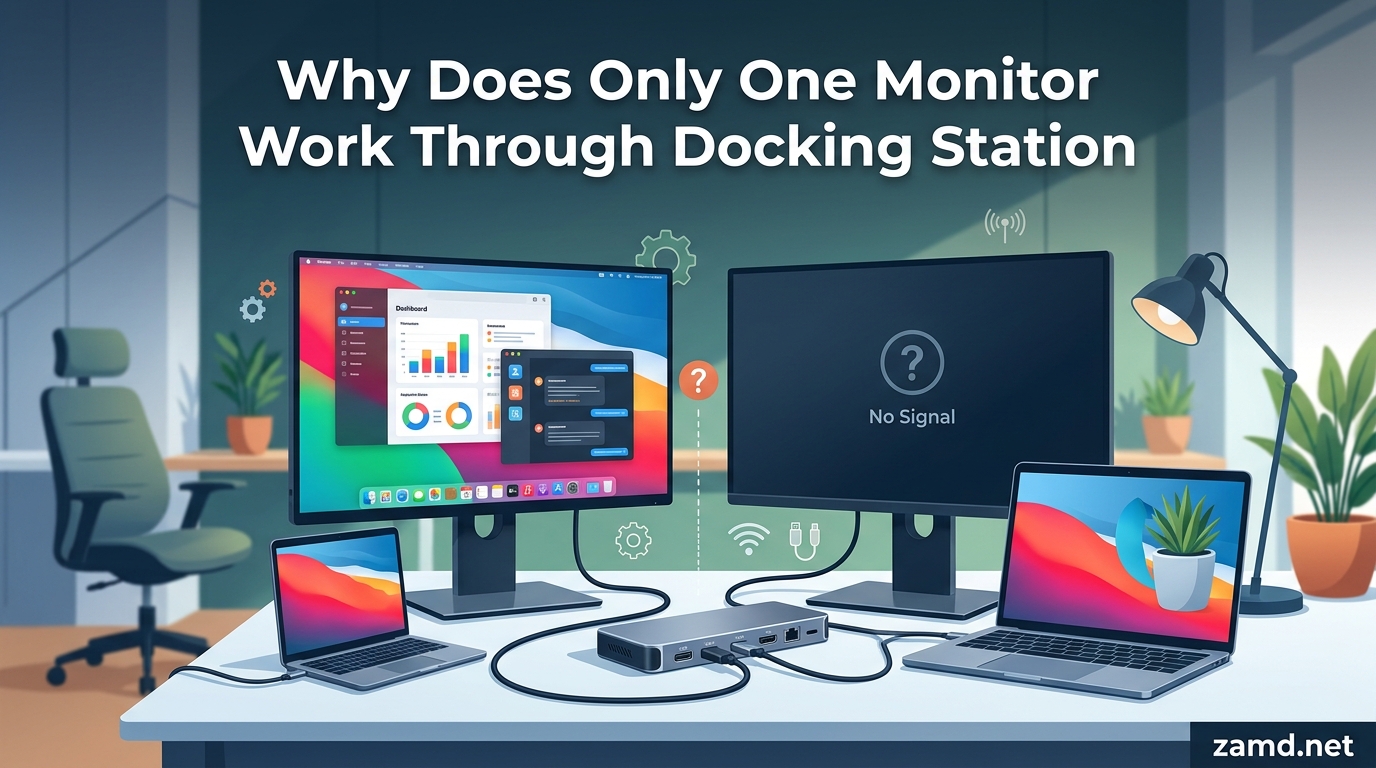
You plug in your docking station, connect two monitors, and only one lights up. It is one of the most frustrating issues laptop users face, and it happens more often than you might think. If you are wondering why does only one monitor work through my docking station, the answer usually comes down to a few specific hardware or software limitations.
The most common reasons only one monitor works through a docking station are: hardware limitations (some Thunderbolt 3 and USB-C ports only route a single video stream), missing or outdated graphics drivers, faulty or incompatible cables, insufficient power delivery, or software conflicts. In most cases, this issue is fixable once you identify the root cause.
I have spent years helping colleagues, friends, and readers troubleshoot dock and monitor problems across Dell, HP, Lenovo, Apple, and custom-built systems. The good news is that once you understand how video signals travel from your laptop through the dock to your monitors, diagnosing the problem becomes much more straightforward. This guide breaks down every common cause and walks you through fixes step by step.
Table of Contents
Common Causes: Why Does Only One Monitor Work Through My Docking Station
Let me start with the direct answer. When only one monitor works through your docking station, it typically falls into one of five categories: hardware video limitations, driver problems, cable issues, power delivery, or software conflicts. Each has distinct symptoms that help you narrow things down.
1. Hardware Limitations (Single Video Line)
This is the most overlooked cause and often the hardest pill to swallow. Some laptops physically route only one DisplayPort video line to their USB-C or Thunderbolt 3 port. That means no matter what dock you buy, no matter what cable you use, only one external monitor can receive a signal through that port.
This limitation is baked into the hardware at the motherboard level. Systems like certain Intel NUC models and some thin-and-light laptops fall into this category. You can check your laptop manufacturer’s specifications page and look for the number of supported external displays or video streams.
2. Missing or Outdated Graphics Drivers
If your system is using the Microsoft Basic Display Adapter instead of your actual graphics driver, dual monitor support through docks frequently breaks. This happens when Windows fails to find or install the correct driver during an update.
I have seen this exact scenario play out on Dell Latitudes, HP EliteBooks, and Lenovo ThinkPads. The fix is almost always to download the latest driver directly from the manufacturer (Intel, AMD, or NVIDIA) rather than relying on Windows Update.
3. Faulty or Incompatible Cables
Not all cables are created equal. A DisplayPort cable that works fine for one monitor might fail to carry a multi-stream signal. HDMI cables have version-specific bandwidth limits that affect multi-monitor setups. USB-C cables that are not Thunderbolt-certified may only carry a single video stream.
One of the fastest diagnostic tricks I use is swapping cables between the two monitors. If the problem follows the cable, you have your answer. If it follows the port on the dock, the dock itself may be the issue.
4. Insufficient Power Delivery
Some docking stations struggle to deliver enough power to both the laptop and multiple monitors simultaneously. When power is insufficient, the dock may prioritize a single monitor and drop the second. This is more common with lower-wattage USB-C docks rated for 60W charging when the laptop demands 96W or more.
Check your dock’s power adapter rating and compare it against your laptop’s power requirements. Using the dock’s original power supply rather than a third-party substitute can resolve this.
5. Software Conflicts
Third-party display management tools, remote desktop software, and even some antivirus programs can interfere with monitor detection. Windows 11 updates have also been known to break previously working dock configurations.
If your setup worked yesterday but stopped today, a recent software change is a likely suspect. Rolling back the latest graphics driver update or performing a clean boot can help isolate the conflict.
Thunderbolt 3 vs USB-C: Understanding the Difference
The confusion between Thunderbolt 3 and USB-C is one of the biggest reasons users end up with single-monitor setups. Both use the same physical connector, but they handle video signals very differently. Understanding this distinction is key to figuring out why only one monitor works through your docking station.
What Is Thunderbolt 3?
Thunderbolt 3 is a high-speed interface developed by Intel that runs over a USB-C connector. It supports data transfer, video output, and power delivery over a single cable. A fully configured Thunderbolt 3 port can carry two DisplayPort video streams, which means a compatible dock can drive two external monitors.
However, not every Thunderbolt 3 port is fully configured. Some laptop manufacturers only wire a single DisplayPort video line to the Thunderbolt controller to save on cost. In those cases, the Thunderbolt 3 port technically works but can only output to one external display.
What Is USB-C DisplayPort Alternate Mode?
Standard USB-C ports (without Thunderbolt) can still output video using a feature called DisplayPort Alternate Mode. This allows the USB-C port to carry a DisplayPort video signal directly. However, standard USB-C with DisplayPort Alt Mode typically supports only one external monitor per port.
Some USB-C docks get around this by using DisplayLink technology, which uses software drivers to create additional virtual displays over USB data. DisplayLink docks can support multiple monitors on a standard USB-C port, but they trade off performance and can introduce latency.
DisplayPort MST (Multi-Stream Transport) Explained
DisplayPort MST is the technology that allows a single DisplayPort connection to carry multiple independent video streams. Think of it like a highway with multiple lanes instead of one. When your dock and laptop both support MST, one cable can carry signals to two or more monitors by daisy-chaining or splitting the signal at the dock.
MST requires support from three things: your laptop’s graphics output, the dock’s controller chip, and the monitors themselves. If any link in that chain lacks MST support, you will be limited to a single display. Most modern Dell, HP, and Lenovo docks support MST, but budget docks often do not.
Here is a quick comparison to help you identify what your setup supports:
- Thunderbolt 3 (dual video line): Supports two external monitors natively through a compatible dock
- Thunderbolt 3 (single video line): Only one external monitor regardless of dock used
- USB-C with DisplayPort Alt Mode: Typically one external monitor unless using DisplayLink dock
- USB-C with DisplayLink: Supports multiple monitors via software drivers, with performance trade-offs
Apple M1, M2, and M3 Limitations Explained
If you are on a Mac, the Apple Silicon transition has introduced some specific dual monitor limitations that catch many users off guard. The behavior differs significantly between chip generations, so knowing exactly which chip you have matters.
Base M1 and M2: Single External Monitor Limitation
The base Apple M1 chip (found in the 2020 MacBook Air, 13-inch MacBook Pro, and Mac mini) natively supports only one external display through its Thunderbolt ports. This is a hardware-level limitation that no dock can overcome. Even with a Thunderbolt dock connected, only one external monitor will display.
The same limitation applies to the base M2 chip in the 2022 MacBook Air and 13-inch MacBook Pro. Apple designed these chips for mainstream users who typically need a single external display.
Workaround: Some users have success with DisplayLink docks, which bypass the hardware limitation by using software-based video output. However, this introduces potential latency and is not ideal for gaming or video editing.
M3 Series: Clamshell Mode Changes the Game
The M3 chip brought a notable change. With the MacBook lid closed (clamshell mode), M3 MacBook Air and Pro models can support two external displays. With the lid open, they still support only one.
If you have an M3 MacBook and only one monitor is working through your dock, try closing the laptop lid while connected to power. The second monitor should then activate, assuming your dock supports dual displays.
M1 Pro, M1 Max, M2 Pro, M2 Max, and M3 Pro/Max
The Pro and Max variants of Apple Silicon support multiple external displays natively. The M1 Max and M2 Max support up to three and four external displays respectively. The M1 Pro and M2 Pro support two external displays.
If you have a Pro or Max chip and are still limited to one monitor, the issue is almost certainly driver-related or cable-related rather than a hardware limitation.
System-Specific Limitations: Dell, HP, Intel NUC, and More
Certain laptop brands and models have well-documented dock monitor issues. Knowing your system’s quirks can save you hours of troubleshooting.
Dell WD19 Dock Issues
The Dell WD19 and WD19TBS docks are among the most popular enterprise docks, and they have well-known dual monitor problems. The WD19S (non-Thunderbolt version) uses DisplayPort MST to drive two monitors from a single USB-C connection. If MST fails, only one monitor displays.
Common fixes for Dell WD19 docks include updating the dock firmware through Dell Command, reinstalling the Intel/AMD/NVIDIA graphics driver from Dell’s support site, and ensuring the monitors are connected to specific port combinations recommended by Dell.
Many sysadmins on Reddit have confirmed that the WD19TBS (Thunderbolt version) is more reliable for dual monitor setups than the standard WD19S. The Thunderbolt controller handles video more consistently.
Intel NUC Single Display Limitation
Intel NUC mini PCs have a specific limitation worth highlighting. Many NUC models route only one DisplayPort video line to their Thunderbolt 3 port. This means even with a Thunderbolt dock, only one external monitor will display through that port.
To run dual monitors on an Intel NUC, you typically need to use the dedicated HDMI port on the NUC itself for the second monitor rather than relying solely on the Thunderbolt port. This dual-output approach bypasses the single video line limitation.
Surface Dock Problems
Microsoft Surface Dock users frequently report monitor detection issues, particularly after firmware updates. The Surface Dock 2 improved dual monitor reliability over the original, but issues persist. The most effective fix is running the Surface Diagnostic Toolkit and updating the dock firmware through Microsoft’s tools.
Gaming Laptop GPU Routing
Gaming laptops with both integrated and dedicated GPUs (NVIDIA or AMD) sometimes route video through the wrong GPU. If the dock connects through a USB-C port wired to the integrated GPU instead of the dedicated GPU, multi-monitor support can be limited or broken.
On NVIDIA systems, check the NVIDIA Control Panel to ensure the dedicated GPU is set as the preferred graphics processor. On AMD systems, verify the Radeon Software settings for similar configuration options.
How to Fix Docking Station Not Detecting Second Monitor
Now let us walk through the troubleshooting steps. I recommend going through these in order, testing after each step to see if the second monitor comes online.
Step 1: Check and Swap Cable Connections
Power down both monitors and unplug all cables from the dock. Reconnect everything firmly, making sure each cable clicks into place. Then swap the DisplayPort or HDMI cables between the two monitors. If the non-working monitor switches after the swap, you have a bad cable. Replace it with a certified DisplayPort or high-speed HDMI cable.
Also try different ports on the dock itself. Some docks designate specific ports for MST daisy-chaining, and using the wrong combination can result in only one monitor working.
Step 2: Update Graphics Drivers from the Manufacturer
Open Device Manager and expand Display adapters. If you see “Microsoft Basic Display Adapter” instead of your actual GPU name, you are running without proper drivers. This is a primary cause of dual monitor failures.
Download the latest driver directly from Intel, AMD, or NVIDIA. Do not rely on Windows Update for this. Install the driver, reboot, and check if the second monitor is detected. For Dell and HP systems, use the manufacturer’s support assistant tool for driver installation.
Step 3: Verify Display Settings
On Windows, press the Windows key + P and select “Extend.” Then right-click the desktop, choose Display settings, and scroll down. If the second monitor appears as a grayed-out rectangle, click it and select “Extend desktop to this display.”
On Mac, go to System Settings > Displays. Click the name of the second monitor and ensure it is set to extend rather than mirror. If the monitor does not appear at all, click “Detect Displays” while holding the Option key.
Step 4: Check Dock Compatibility and MST Support
Look up your dock model on the manufacturer’s website and confirm it supports dual monitors with your specific laptop model. Some docks advertise dual monitor support but only when connected to specific systems or ports.
For DisplayPort MST docks, ensure both monitors support MST or that the dock has multiple independent video outputs. Daisy-chaining requires MST-capable monitors connected in sequence.
Step 5: Test Each Monitor Individually
Disconnect one monitor entirely and test the other through the dock. Then switch. If both monitors work individually but not together, the issue is with the dock’s dual-monitor capability or your laptop’s video output limitations.
This test confirms whether you are dealing with a hardware limitation versus a cable or port problem. If one monitor fails to work even individually, that monitor or its cable is the issue.
Step 6: Perform a Clean Boot
On Windows, press Windows key + R, type “msconfig,” and press Enter. Under the Services tab, check “Hide all Microsoft services,” then click “Disable all.” Open Task Manager, disable all startup items, and reboot.
If both monitors work after the clean boot, a third-party application is causing the conflict. Re-enable services one at a time to identify the culprit. Common offenders include remote desktop tools, display management software, and some security suites.
Step 7: Update Dock Firmware and BIOS
Many dock manufacturers release firmware updates that fix monitor detection bugs. Check the manufacturer’s website for your dock model and install any available firmware. For laptops, updating the BIOS or UEFI firmware can also resolve Thunderbolt and video output issues.
Dell users can use Dell Command | Update. HP users can use HP Support Assistant. Lenovo users can use Lenovo Vantage. These tools automate firmware and driver updates for both the dock and the laptop.
Prevention Tips to Avoid Future Monitor Detection Issues
Once you get dual monitors working, a few habits can prevent the problem from recurring. Keep your graphics drivers updated by checking the manufacturer’s site monthly or enabling automatic update notifications. Use certified cables from reputable brands rather than generic alternatives.
Before purchasing a new dock, verify on the manufacturer’s compatibility page that it supports dual monitors with your specific laptop model. Update dock firmware whenever new versions are released. And after major Windows or macOS updates, test your monitor setup to catch issues early.
Avoid hot-plugging monitors while the system is under heavy load. Connect monitors before launching graphics-intensive applications. These small practices go a long way in maintaining a stable multi-monitor workstation.
FAQ’s
Why isn’t my docking station detecting my second monitor?
Your docking station may not detect the second monitor due to outdated graphics drivers, a faulty cable, incompatible dock hardware, or a single video line limitation on your laptop’s USB-C or Thunderbolt port. Start by updating your graphics driver from the manufacturer’s website, then swap cables to rule out a bad connection.
How do I get dual monitors to work on my docking station?
To get dual monitors working on your docking station, ensure your dock supports MST (Multi-Stream Transport) or has multiple independent video outputs. Update your graphics drivers, use certified cables, check display settings to extend rather than mirror, and verify your laptop supports two external displays through its USB-C or Thunderbolt port.
Why isn’t my 2nd monitor being detected?
Your second monitor may not be detected because the system is using the Microsoft Basic Display Adapter instead of the correct graphics driver. It can also happen if the cable is faulty, the dock does not support dual displays, or the laptop’s port only routes a single video stream.
Why isn’t my 3rd monitor being detected?
A third monitor not being detected usually means your laptop’s graphics output or Thunderbolt controller is limited to two external displays. Check your laptop specifications for the maximum number of supported external monitors. DisplayLink docks can sometimes add additional monitors beyond the hardware limit using software-based video output.
Conclusion
Figuring out why does only one monitor work through my docking station comes down to identifying whether you are hitting a hardware limitation or a fixable driver, cable, or software issue. Start with the quick wins: swap cables, update your graphics driver from the manufacturer, and check your display settings. If those do not work, investigate whether your laptop’s USB-C or Thunderbolt port supports dual video streams.
For Apple Silicon users, know your chip. Base M1 and M2 Macs support only one external display natively, while M3 models can do two in clamshell mode. For Windows users on Dell, HP, or Intel NUC systems, check your dock firmware and verify MST compatibility.
Most importantly, do not assume the problem is unsolvable until you have tried every step in this guide. The vast majority of single-monitor dock issues are fixable with the right diagnosis.