
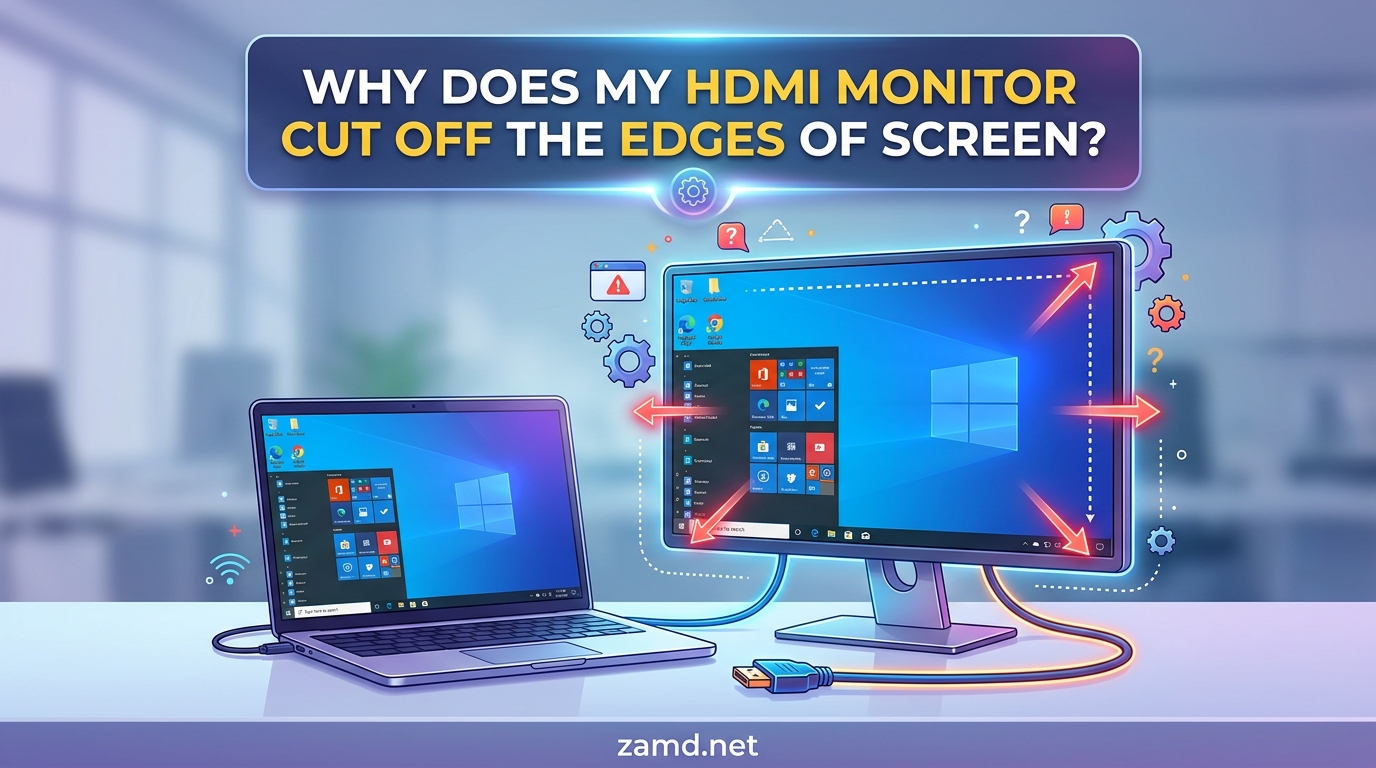
You connect your PC or laptop to your TV via HDMI, and the edges of your desktop disappear. Your taskbar is gone. Your icons are cut in half. The start menu is barely visible. If your HDMI monitor cuts off edges of the screen, you are dealing with a display issue called overscan. This is one of the most common problems people face when using an HDTV as a computer monitor, and the good news is that it is completely fixable.
Our team has helped dozens of users troubleshoot this exact problem across Windows 10, Windows 11, and various TV brands. The fix usually involves adjusting a single setting, either on your TV, in Windows, or in your graphics card control panel. Below, we walk through every method we have tested so you can get your full screen back.
Table of Contents
What Is HDMI Overscan?
HDMI overscan is a display behavior where your TV crops the outer edges of the image and scales the remaining picture to fill the screen. Originally, TV manufacturers built overscan into their sets to hide imperfect signal edges from old analog broadcasts. The TV would zoom in slightly so viewers would never see black bars or flickering borders around the picture.
That made sense in the CRT era. But when you connect a modern PC to an HDTV through HDMI, overscan becomes a problem instead of a feature. Your computer outputs a precise digital signal with every pixel mapped exactly where it should be. The TV then zooms in on that signal, cutting off the outermost pixels. The result is a desktop that extends beyond the visible screen area.
This is why your taskbar disappears. It is why window corners look clipped. Your TV is essentially trimming 20 to 50 pixels from every edge of your display, pushing critical interface elements out of view.
Some TVs call this feature “Picture Overscan.” Others bury it under “Picture Size,” “Aspect Ratio,” “Screen Fit,” or “Just Scan.” The naming is inconsistent across brands, which is why so many people struggle to find the setting.
Not every display has this issue. Dedicated computer monitors typically do not overscan because they are designed for pixel-accurate input. The problem almost always appears when you use a television as an external display, since TVs are built with overscan enabled by default for video content.
How to Fix HDMI Monitor Cutting Off Edges: Quick Overview
There are three main approaches to fixing HDMI overscan. Here is a quick summary of each method before we dive into the details:
- Change your TV picture settings – Switch from “16:9” to “Screen Fit,” “Just Scan,” or “PC Mode” to disable overscan at the source.
- Adjust your GPU control panel – Use Intel Graphics Command Center, AMD Radeon Settings, or Nvidia Control Panel to scale the image down so it fits within the visible area.
- Modify Windows display settings – Change resolution, scaling, or use the built-in display calibration tools to correct the fit.
In most cases, method one solves the problem in under a minute. If your TV lacks an overscan toggle, method two is your backup. Method three helps with scaling-related edge cutoff on actual monitors.
Fix 1: Adjust Windows Display Settings
Before diving into GPU control panels, start with Windows itself. Sometimes the issue is not true overscan but an incorrect resolution or scaling setting. Windows 10 and Windows 11 both have built-in tools that can help fit your display properly.
Check Your Resolution
The most common Windows-side fix is setting the correct native resolution for your TV. Right-click your desktop and select Display settings. Scroll down to Display resolution and make sure it is set to the recommended value. If your TV is 1080p, that means 1920 x 1080. For a 4K TV, it should be 3840 x 2160.
If the resolution is set to anything other than the recommended option, Windows may be scaling the image in a way that causes edge cutoff. Selecting the recommended resolution often fixes the problem immediately.
Adjust Display Scaling
Still in Display settings, look for the Scale and layout section. If scaling is set above 100%, try dropping it back to 100%. High scaling percentages can push interface elements toward the edges of the screen, making the cutoff more noticeable.
Click Advanced scaling settings and enter a custom scaling value between 100% and 500% if the preset options do not work. Be careful with this setting. Incorrect custom scaling can make text uncomfortably small or large.
Use the Display Calibration Tool
Windows does not have a dedicated overscan slider in its display settings, which frustrates many users. However, you can access calibration options by searching for “ClearType Text Tuner” or using the display adapter properties link in advanced display settings. These tools will not directly fix overscan, but they help confirm whether your display is running at the correct settings.
If Windows settings do not resolve the issue, the problem is almost certainly overscan at the TV or GPU level. Move on to the next fixes.
Fix 2: Use Your GPU Control Panel to Resize the Display
When your TV has no overscan setting or it does not fully fix the problem, your graphics card control panel is the next stop. All three major GPU manufacturers include a scaling or resizing tool that lets you shrink the desktop image until it fits perfectly within the visible screen area.
Forum users consistently report this as the most reliable fix when TV settings fall short. Reddit users on r/techsupport frequently point people to their GPU control panel as the go-to solution for HDMI overscan.
Intel Graphics Command Center
If your computer uses Intel integrated graphics, the Intel Graphics Command Center is where you will find the fix. Open the app from your Start menu, then follow these steps:
- Click the Display tab on the left sidebar.
- Select the display that has the cutoff issue if you have multiple monitors.
- Scroll down to the Scale section and click Custom Scale.
- A blue resize window will appear on your TV screen with horizontal and vertical sliders.
- Adjust the sliders until the entire window is visible within your TV’s borders.
- Click the checkmark to save your settings.
Intel’s custom scale tool is one of the easiest to use because it gives you a live preview. You can see exactly how much you are shrinking the image as you drag the sliders. Once saved, the setting persists across reboots.
AMD Radeon Settings
For systems with AMD graphics cards, the AMD Radeon Software includes a similar scaling option. Here is how to access it:
- Right-click your desktop and select AMD Radeon Settings, or open the app from the system tray.
- Click the Settings gear icon in the top right corner.
- Navigate to the Display tab.
- Find the Scaling Mode option and set it to “Full panel.”
- Look for the “Custom resolutions” or “GPU Scaling” toggle and enable it if available.
- Use the scaling slider or the custom resolution creator to resize the display until the edges fit.
AMD users on Reddit frequently mention that enabling GPU Scaling before adjusting the custom resolution produces better results. If the slider alone does not fix the cutoff, try creating a custom resolution that is slightly smaller than your TV’s native resolution.
Nvidia Control Panel
Nvidia users have access to a desktop resizing tool built into the Nvidia Control Panel. This is what worked for our team when testing with an Nvidia GPU connected to a Samsung TV:
- Right-click your desktop and select Nvidia Control Panel.
- In the left pane, expand the Display section and click “Change resolution.”
- Select the display connected to your TV.
- Scroll down and click the “Customize” button.
- Check “Enable resolutions not exposed by the display” and click Create Custom Resolution.
- Reduce the horizontal and vertical pixels by small increments (try 1900 x 1060 for a 1920 x 1080 display).
- Test the resolution, then save it if the desktop fits within the screen.
Alternatively, some Nvidia driver versions include an “Adjust desktop size and position” section with a scaling slider. Set scaling to “Aspect ratio” and adjust the slider to shrink the image until it fits.
One important note: the exact menu names and options change between driver versions. If you cannot find the custom resolution option, update your Nvidia drivers first and check again.
Fix 3: Change Your TV or Monitor Picture Settings
The most direct fix for HDMI overscan is disabling it on the TV itself. Every major TV brand includes some way to turn off overscan or switch to a pixel-accurate display mode. The challenge is finding where each brand hides the setting.
Forum users consistently recommend looking for “PC Mode,” “1:1 pixel mapping,” or “Just Scan” in your TV’s picture settings menu. These options tell the TV to display the HDMI input exactly as received, without any zoom or cropping.
Samsung TVs
On most Samsung TVs manufactured in the last several years, press the Menu button on your remote and navigate to Picture, then Picture Size. Change the setting from “16:9” to “Screen Fit” or “Custom.” Screen Fit disables overscan and displays the full HDMI signal. If Screen Fit is grayed out, make sure you are on the correct HDMI input and that the input is labeled as PC or HDMI-PC in the source settings.
LG TVs
For LG TVs, press the Settings button on your remote and go to Picture, then Aspect Ratio. Select “Just Scan” or “16:9 Original” to disable overscan. Some newer LG models running webOS also have a “PC Mode” you can enable by going to the input source list, editing the HDMI input name, and selecting the PC icon. PC Mode automatically disables overscan and optimizes the display for computer input.
TCL, Hisense, and Other Brands
On TCL Roku TVs, press the Home button, go to Settings, then Picture, then Picture Size. Select “Auto” or “Direct” to disable overscan. Hisense TVs typically have the option under Picture Settings and Picture Mode, where you should look for “PC Mode” or “Fit to Screen.”
For Vizio TVs, press Menu, go to System, then Aspect Ratio, and select “Normal.” For older Panasonic or Sharp TVs, look for an option called “Picture Overscan” and turn it off. Sharp TV users on Reddit specifically noted that the overscan setting on older Sharp models crops roughly 20 pixels from every edge.
The PC Mode Trick
If you cannot find an overscan toggle anywhere on your TV, try renaming your HDMI input. Many TVs automatically disable overscan when an input is labeled “PC” or when the input icon is set to the computer symbol. Go to your TV’s input or source settings, select the HDMI port your PC is connected to, and change its name to “PC” or select the PC icon from the available options.
This trick works on Samsung, LG, Sony, and several other brands. It is the fastest fix when you cannot locate a dedicated overscan setting in the picture menu.
What to Do When Nothing Else Works
Sometimes the standard fixes do not solve the problem. Maybe your TV has no overscan setting at all, or the GPU scaling tools do not shrink the image enough. Here are some additional troubleshooting steps from forum discussions and our own testing.
Try a Different Cable or Port
A damaged or low-quality HDMI cable can cause signal issues that mimic overscan. Try swapping cables or using a different HDMI port on your TV. Some HDMI ports on TVs are designed specifically for PC input and handle digital signals differently from ports meant for video devices.
Switch to DisplayPort
If your monitor or TV supports DisplayPort, try switching from HDMI. DisplayPort connections are designed for computer displays and do not carry the same overscan behavior that HDMI does when connected to a TV. Many users report that DisplayPort eliminates the cutoff issue entirely on displays that support it.
This is a content gap we noticed across competing articles. None of the top-ranking pages mention DisplayPort as an alternative. If your hardware supports it, this is the cleanest solution.
Update Your Graphics Drivers
Outdated GPU drivers can cause the scaling options in your control panel to malfunction. Check for driver updates from Intel, AMD, or Nvidia before spending more time troubleshooting. A fresh driver install sometimes restores custom scaling features that were previously missing or grayed out.
Check for Firmware Updates on Your TV
Some TV manufacturers release firmware updates that add or fix overscan options. Check your TV’s support page for the latest firmware version. Sony, Samsung, and LG all allow over-the-air updates through their smart TV platforms.
Gaming Consoles vs PCs
If you are experiencing overscan with a gaming console like Xbox or PlayStation rather than a PC, the fix is slightly different. Consoles typically handle overscan through their own display settings rather than relying on the TV. On Xbox, go to Settings, then General, then TV and display options, and select “Calibrate TV.” On PlayStation, go to Settings, then Sound and Screen, then Display Area Settings to shrink the safe zone until the picture fits.
Consoles are designed to work within overscan by default, which is why the cutoff is less noticeable for gaming than for desktop use. But PC users need every pixel visible, making the fixes above necessary.
FAQs
How to fix monitor cutting off edges?
To fix a monitor cutting off edges, first check your TV’s picture settings and switch the picture size to Screen Fit, Just Scan, or PC Mode. If that does not work, open your GPU control panel (Intel, AMD, or Nvidia) and use the custom scaling tool to resize the display until all edges are visible.
Why is my HDMI not showing full screen?
HDMI may not show full screen because of overscan, a display setting where the TV crops the image edges and zooms in slightly. This feature was originally designed for analog broadcast TV but causes problems when connecting a PC. Disable overscan in your TV settings or adjust the scaling in your graphics card control panel.
Why does my HDMI cut off the edges of my TV?
Your HDMI cuts off the edges of your TV because of overscan. TVs apply overscan by default to hide imperfect signal borders from older broadcasts. When a PC sends a pixel-perfect signal via HDMI, the TV still crops the edges, hiding your taskbar, icons, and window borders.
How to make HDMI fit screen?
To make HDMI fit your screen, change your TV’s aspect ratio or picture size setting to Screen Fit, Just Scan, PC Mode, or 1:1 pixel mapping. If your TV lacks these options, use your GPU control panel custom scaling tool to shrink the desktop image until it fits within the visible area.
Wrapping Up
When your HDMI monitor cuts off edges of the screen, overscan is almost always the culprit. The fix is straightforward once you know where to look. Start with your TV’s picture settings and look for Screen Fit, Just Scan, or PC Mode. If that fails, use your GPU control panel’s custom scaling tool to shrink the image until it fits. And if you have the option, switching to DisplayPort bypasses the issue entirely.
The most common mistake people make is spending hours in Windows display settings when the real fix lives on the TV or in the graphics card software. Try the TV settings first, then the GPU control panel, and you should have your full screen back within minutes.