
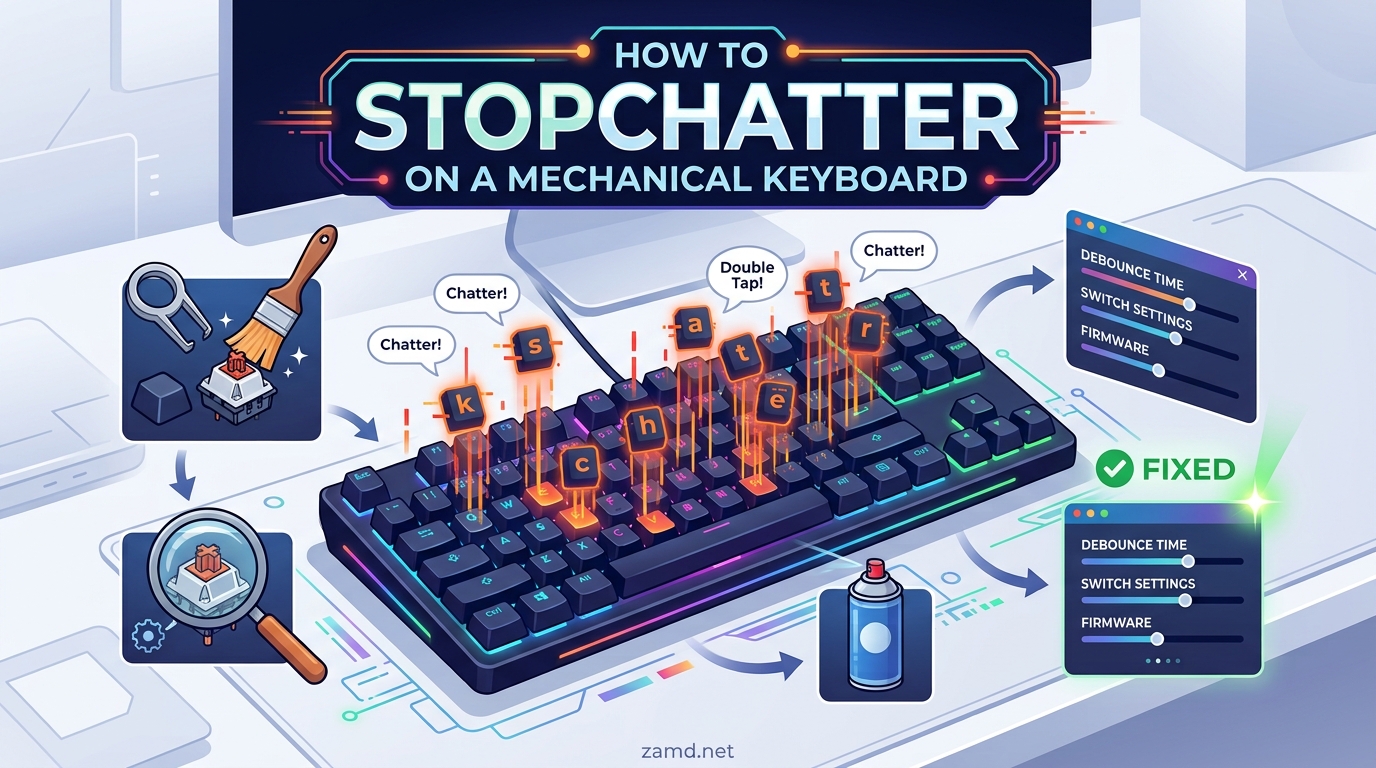
You press a key once and your screen shows two letters. Or three. Maybe you are mid-game and your character double-jumps when you only tapped once. If this sounds familiar, you are dealing with key chatter, one of the most common and frustrating mechanical keyboard issues out there.
Learning how to stop key chatter on a mechanical keyboard can save you from replacing a board that still has plenty of life left. In most cases, the fix costs nothing and takes under 20 minutes.
I have spent years using, building, and repairing mechanical keyboards, and I have dealt with chatter on everything from budget boards to custom builds. This guide walks through every fix I trust, ordered from the simplest free solution to the most advanced hardware repair. You will learn what causes chatter, how to test for it, how to clean switches properly using the Isopropyl Actuation Method, how to adjust debounce settings, and when it makes sense to replace switches entirely.
Whether your spacebar keeps double-tapping or a single letter key fires twice mid-sentence, the solutions below will get your keyboard back to registering single clean keypresses.
Table of Contents
What Is Key Chatter?
Key chatter happens when a single physical keypress registers as multiple inputs on your computer. You press a key once, but the keyboard sends two or more signals to the system. This shows up as doubled letters while typing, duplicated actions in games, or repeated commands in shortcuts.
The root cause is contact bounce. Inside every mechanical switch, two small metal contact leaves physically touch when you press the key. When those metal leaves collide, they do not connect cleanly once. They actually bounce microscopically several times in the first few milliseconds of contact. Each bounce creates a tiny electrical connection and disconnection that the keyboard controller has to interpret.
Under normal conditions, the controller’s debounce algorithm filters out these bounces so only one keypress registers. But when debris, wear, or firmware problems interfere with that process, the bounce pattern changes and chatter slips through. The result is a key that fires multiple times from a single press.
Key chatter is different from the normal key repeat feature built into your operating system. OS key repeat only activates when you hold a key down continuously. Chatter happens on a quick single tap, and it occurs at the hardware or firmware level before the OS ever sees the input.
Common Causes of Key Chatter
Understanding what causes chatter helps you pick the right fix instead of wasting time on solutions that do not address your specific problem. Here are the six most common culprits I see.
1. Debris and Dust Buildup
Dust, pet hair, skin cells, and food crumbs work their way inside switches over time. This debris sits between the metal contact leaves and changes how they connect. Even a tiny particle can cause the contacts to bounce irregularly, and that is when chatter starts.
This is the most common cause and also the easiest to fix. I would estimate that 60 to 70 percent of chatter cases I have encountered trace back to debris inside the switch housing.
2. Worn Metal Contact Leaves
Every switch has a finite lifespan, typically rated between 50 million and 100 million keystrokes for Cherry MX style switches. Over years of heavy use, the metal contact leaves physically wear down. They lose their spring tension, develop pitting on the contact surface, or bend slightly out of alignment.
Worn contacts produce inconsistent bounce patterns that cleaning cannot fix. If you have cleaned a switch thoroughly and it still chatters, worn contacts are the likely culprit.
3. Firmware Bugs
Your keyboard runs firmware that manages the debounce algorithm, and bugs in that firmware can cause chatter across multiple keys at once. This often shows up after a firmware update or on newer boards where the debounce settings shipped too aggressive from the factory.
Forum users on r/MechanicalKeyboards frequently report chatter appearing after firmware updates on QMK-based boards. The fix is usually a firmware reflash or a debounce time adjustment.
4. Loose Hot-Swap Sockets
On hot-swappable keyboards, switches plug into sockets soldered to the PCB. These sockets can loosen over time, especially if you swap switches frequently. A loose socket creates an intermittent electrical connection that mimics switch chatter perfectly.
This is a commonly missed diagnosis. Many users replace switch after switch without realizing the socket itself is the problem. I cover how to tell the difference in the advanced solutions section.
5. Stabilizer Wire Issues
If your spacebar, Enter, Shift, or Backspace key is chattering, the cause might not be the switch at all. Stabilizer wires that have come loose or are rubbing against the housing can produce extra vibrations that register as phantom keypresses.
Reddit users consistently report that spacebar chatter traces back to stabilizer wire problems rather than switch failure. Before replacing a spacebar switch, always check the stabilizer first.
6. PCB or Controller Degradation
In rare cases, the keyboard controller chip or the traces on the PCB degrade over time. This can happen from liquid exposure, electrostatic discharge, heat damage, or simply age. Symptoms include chatter that spreads to multiple keys progressively and keys that stop registering entirely.
PCB degradation is the worst-case scenario. If you see chatter migrating across the board and cleaning or switch replacement does not help, the controller itself may be failing.
How to Test for Key Chatter
Before you start fixing anything, confirm that you actually have chatter and identify which keys are affected. This takes two minutes and saves you from repairing switches that are working fine.
Use an Online Keyboard Tester
Open a free keyboard tester website in your browser. I recommend keyboardtester.com or keyboard-check.com. Press each key once, slowly and deliberately. The tester highlights each key as it registers. If a key flashes multiple times from a single press, you have confirmed chatter on that switch.
Manual Text Test
Open a blank text document and type each letter of the alphabet slowly, pressing each key exactly once. Type something like “abcdefghijklmnopqrstuvwxyz” and scan for doubled letters. This catches chatter that might not be obvious during normal fast typing.
Test each key at least three times. Some switches only chatter intermittently, so a single clean press does not rule out a problem. If a key doubles even once out of five presses, it needs attention.
Quick Fixes: How to Stop Key Chatter on a Mechanical Keyboard
These are the solutions I recommend trying first. They are free, fast, and resolve the majority of chatter cases. Work through them in order from easiest to most involved.
Step 1: Clean with Compressed Air
Start with the simplest approach. Remove the keycap from the chattering switch using a keycap puller. Hold a can of compressed air upright about two inches from the open switch and give it three to four short bursts.
Aim the nozzle at an angle so the air circulates inside the switch housing and dislodges debris from between the contact leaves. Press the key rapidly 10 to 15 times while blowing air to help knock loose any particles stuck to the contacts.
This quick fix resolves chatter for many users. However, based on community reports, the results are often temporary. Reddit users frequently mention that compressed air fixes last only a short time before chatter returns. If the problem comes back within a few days, move to the next step.
Step 2: The Isopropyl Actuation Method
This is the most effective cleaning technique for chattering switches, and it goes deeper than compressed air alone. You will need a bottle of 90 percent or higher isopropyl alcohol. Do not use 70 percent, because the higher water content can leave residue inside the switch.
Here is the exact process I follow:
Step 2a: Remove the keycap from the affected switch.
Step 2b: Place two to three drops of isopropyl alcohol directly into the top of the open switch. A small dropper or a Q-tip works well for this. Do not flood the switch, just enough to reach the contact leaves inside.
Step 2c: Press the key smoothly and rapidly 30 to 50 times. This is the critical part. The repeated actuation moves the contact leaves through the alcohol, and the liquid dissolves grime while the mechanical action scrubs the contact surfaces clean.
Step 2d: Let the switch dry completely before plugging the keyboard back in. Isopropyl alcohol at 90 percent or higher evaporates in about 10 to 15 minutes. Wait a full 20 minutes to be safe. Never connect a keyboard while liquid is still inside the switches.
Step 2e: Test the switch with a keyboard tester. In my experience, this method has roughly a 70 to 80 percent success rate for debris-related chatter. The fix lasts longer than compressed air, but if your contacts are physically worn, the chatter will eventually return.
Step 3: Try Keyboard Chatter Blocker Software
If cleaning does not fully resolve the issue or you need an immediate fix while you wait for replacement parts, software can bridge the gap. Keyboard Unchatter and similar chatter blocker programs intercept keypresses at the software level and suppress duplicates that arrive within a set threshold.
The community-verified sweet spot is around a 30ms threshold. This means if the same key registers twice within 30 milliseconds, the software ignores the second input. This effectively eliminates chatter without any hardware work.
Keyboard Unchatter is free and works on Windows. For macOS, you can find similar utilities or use the built-in key repeat settings to partially mitigate the issue. Keep in mind that software is a bandage, not a cure. It adds latency and does not fix the underlying switch problem.
Step 4: Adjust OS Repeat Delay Settings
While OS settings cannot fix true hardware chatter, adjusting them can reduce the impact on your typing experience while you work on a permanent fix.
On Windows 11: Open Settings, go to Bluetooth and devices, then Typing. Under Advanced keyboard settings, open Keyboard properties. Increase the Repeat delay to Slow or Medium. This gives the OS a longer window to filter out bounce signals before triggering key repeat.
On macOS: Open System Settings, go to Keyboard. Adjust the Key repeat rate slider toward Slow and increase the Delay until repeat slider toward Long. These settings control how quickly the OS starts repeating a held key, which can mask mild chatter.
These adjustments help with minor chatter but will not fix a switch that is firing multiple times on a quick tap. Use them as a stopgap while you prepare for cleaning or switch replacement.
Advanced Solutions for Persistent Chatter
If quick fixes do not hold or your chatter is caused by something other than debris, you need to dig deeper. These solutions address the problem at the firmware and hardware level.
Adjust Debounce Time in QMK or VIA
Debounce time is the window the keyboard controller waits after detecting a keypress before accepting another input from the same key. A longer debounce filters out more bounce but adds latency. A shorter debounce feels more responsive but lets more bounce through.
If your keyboard runs QMK or VIA firmware, you can adjust debounce time directly. For QMK, the default debounce is 5ms, which is aggressive. If you are experiencing chatter, try increasing it.
Here are my recommendations based on testing:
5ms: Default for most QMK boards. Fast response but minimal chatter protection. Fine for healthy switches, risky for older ones.
10ms: A good middle ground. Adds imperceptible latency for most users while filtering out the majority of contact bounce. I recommend this for boards with switches over two years old.
15ms: Maximum chatter protection. Still fast enough for competitive gaming for most players. Use this if you have persistent chatter on multiple keys and want to avoid switch replacement.
20ms and above: I do not recommend going higher than 15ms. Above this threshold, typing starts to feel sluggish and you may miss rapid double-taps in games.
In VIA, you can often change debounce through the UI without recompiling firmware. In QMK, you modify the debounce setting in config.h and reflash. Check your keyboard’s documentation for the exact method.
Replace Switches on a Hot-Swappable Board
If cleaning and debounce adjustments do not fix the problem, the switch itself is likely worn out. On a hot-swappable keyboard, replacing a switch takes about 30 seconds.
Use a switch puller to grip the switch from top and bottom. Pull straight up with even pressure. Do not rock the switch side to side, because that can damage the hot-swap socket. Insert the new switch, making sure all pins are straight, and press down firmly until it clicks into place.
Before buying new switches, check if you have spares. Many hot-swappable boards come with extra switches. You can also temporarily swap the chattering switch with one from a rarely used key like Scroll Lock or Pause.
Replace Switches on a Soldered Board
If your keyboard is not hot-swappable, replacing a switch requires desoldering. You will need a soldering iron, a solder sucker or desoldering braid, and some rosin-core solder.
One Reddit user reported that desoldering and replacing four Cherry MX Red switches took about 40 minutes with a decent soldering iron and left the board working like new. It is very doable if you are comfortable with basic soldering.
The process: melt the solder on each of the two switch pins on the back of the PCB, remove the solder with your sucker or braid, push the switch out from the top, insert the new switch, and solder the two pins. Take your time and do not overheat the pads.
Diagnosing Hot-Swap Socket vs Switch Failure
This is the most commonly missed diagnosis in mechanical keyboard repair. If you replace a switch and the new one chatters too, the problem is probably the hot-swap socket, not the switch.
To confirm: take the chattering switch and put it in a different socket on the same keyboard. If it works fine in the new location, the original socket is the issue. Loose sockets create intermittent connections that produce chatter symptoms identical to switch failure.
Fixing a loose socket requires resoldering it to the PCB. If you are not comfortable soldering, this is where professional repair or a warranty claim makes more sense than DIY.
Switch Types and Chatter Immunity
If you are shopping for a new keyboard or planning a switch upgrade, choosing the right switch technology can prevent chatter entirely. Not all switches are equally susceptible.
Mechanical Switches (Contact-Based)
Standard mechanical switches like Cherry MX, Gateron, and Kailh use physical metal contacts. These are the switches most prone to chatter because every keypress relies on metal leaves physically touching. Dust, wear, and oxidation all affect the contact surface directly.
Mechanical switches are still the most popular type and offer the widest range of feel and sound options. With proper maintenance, they can last years without chattering, but they will always be more susceptible than contactless designs.
Optical Switches (Light-Based)
Optical switches eliminate metal contacts entirely. Instead of two leaves touching, an infrared light beam passes through the switch stem. When you press the key, the stem physically blocks the light beam, and a sensor detects the interruption.
Because there are no contacts to bounce, optical switches are effectively immune to traditional contact bounce chatter. Brands like Wooting and Razer have popularized optical designs. The trade-off is that optical switches are not universally hot-swappable with mechanical switches, so you are more locked into one ecosystem.
Hall Effect Switches (Magnetic)
Hall Effect switches use a magnet in the switch stem and a Hall Effect sensor on the PCB. The sensor detects the magnetic field strength to determine key position. Like optical switches, there are no physical contacts to wear or collect debris.
Hall Effect switches go a step further than optical by offering adjustable actuation depth. You can set the actuation point at any depth in the keypress, and some boards let you set a rapid trigger mode that resets the key as soon as you start releasing it.
For chatter immunity, Hall Effect is the current gold standard. If you have persistent chatter issues and want a permanent solution, a Hall Effect keyboard like those from Wooting or DrunkDeer eliminates the root cause entirely.
How to Prevent Key Chatter from Coming Back
Once you fix chatter, a few simple habits will keep it from returning. Prevention is always easier than repair.
Establish a Cleaning Schedule
Clean your keyboard every two to three months even if it is working fine. Remove all keycaps, blow out the case with compressed air, and wipe everything down. For switches, run the Isopropyl Actuation Method on your most-used keys every six months as preventive maintenance.
The keys most prone to chatter are the ones you use most: spacebar, Enter, Backspace, Shift, and the letters E, A, S, and R in common typing layouts. Pay extra attention to these during cleaning.
Lubricate Switches Properly
If you are building or modifying a keyboard, lubricating switches with Krytox 205g0 on the contact leaves and stem reduces friction and wear. Proper lubrication extends switch life and helps contacts connect more smoothly, reducing the irregular bounce patterns that cause chatter.
Lubrication requires opening the switch housing, so it is more involved than cleaning. It is best done during a build or when you already have switches removed for replacement.
Control Environmental Factors
Keep your keyboard away from dust sources, food, and liquids. If you eat at your desk, a keyboard cover during meals prevents crumbs from working into switches. In dry environments, static buildup can affect controller behavior, so consider an anti-static mat under your keyboard.
High humidity can cause oxidation on metal contacts over time. If you live in a humid climate, storing silica gel packets near your keyboard helps absorb excess moisture.
Know When to Replace vs Repair
Here is my decision framework after years of working on mechanical keyboards:
Clean first, always. The Isopropyl Actuation Method costs about five dollars in materials and fixes most cases. If cleaning holds for months, you are done.
If cleaning fixes the chatter but it returns within weeks, the contacts are wearing. Try increasing debounce to 10ms. This buys you time.
If chatter spreads to multiple keys or returns within days of cleaning, you are dealing with PCB or controller degradation. At this point, weigh the cost of a new keyboard against professional repair.
If only one or two keys chatter and cleaning no longer works, replace those switches. On a hot-swappable board this is trivial. On a soldered board, it is a 40-minute project if you own a soldering iron.
If you are buying a new keyboard and want to never deal with chatter again, choose optical or Hall Effect switches. The higher upfront cost pays for itself in maintenance-free years.
Conclusion
Knowing how to stop key chatter on a mechanical keyboard comes down to a simple progression: clean first, adjust software second, and replace hardware last. The Isopropyl Actuation Method alone fixes the majority of cases with materials that cost less than ten dollars.
For persistent problems, increasing debounce time to 10ms or replacing worn switches handles most of what remains. And if you are ready for a permanent solution, optical and Hall Effect switches eliminate contact bounce chatter by design.
Start with the quick fixes in this guide, test your results with a keyboard tester, and work your way up only as far as you need to. Your keyboard has plenty of life left, you just need to give those switches the attention they deserve.